AI Copywriter
Headlines and posts in your tone of voice: topic → finished text in a minute.
The AI Copywriter writes headlines and posts on your topic. You set the language, who speaks, the voice (Tone of Voice), the call to action and the model, then enter the topic by voice or text. The result can be edited right on the page, regenerated with notes, copied or sent to Telegram. Everything generated is saved to the archive automatically.
Step-by-step guideDesktop version
Open the AI Copywriter and check your token balance
- In the dashboard sidebar click “AI Copywriter”
- Two tabs at the top: “Generate” is the workspace, “Archive” holds everything you've generated
- Next to them is the balance: 🪙 how many tokens are left of the monthly allowance and the reset date
Set the language, author and post format
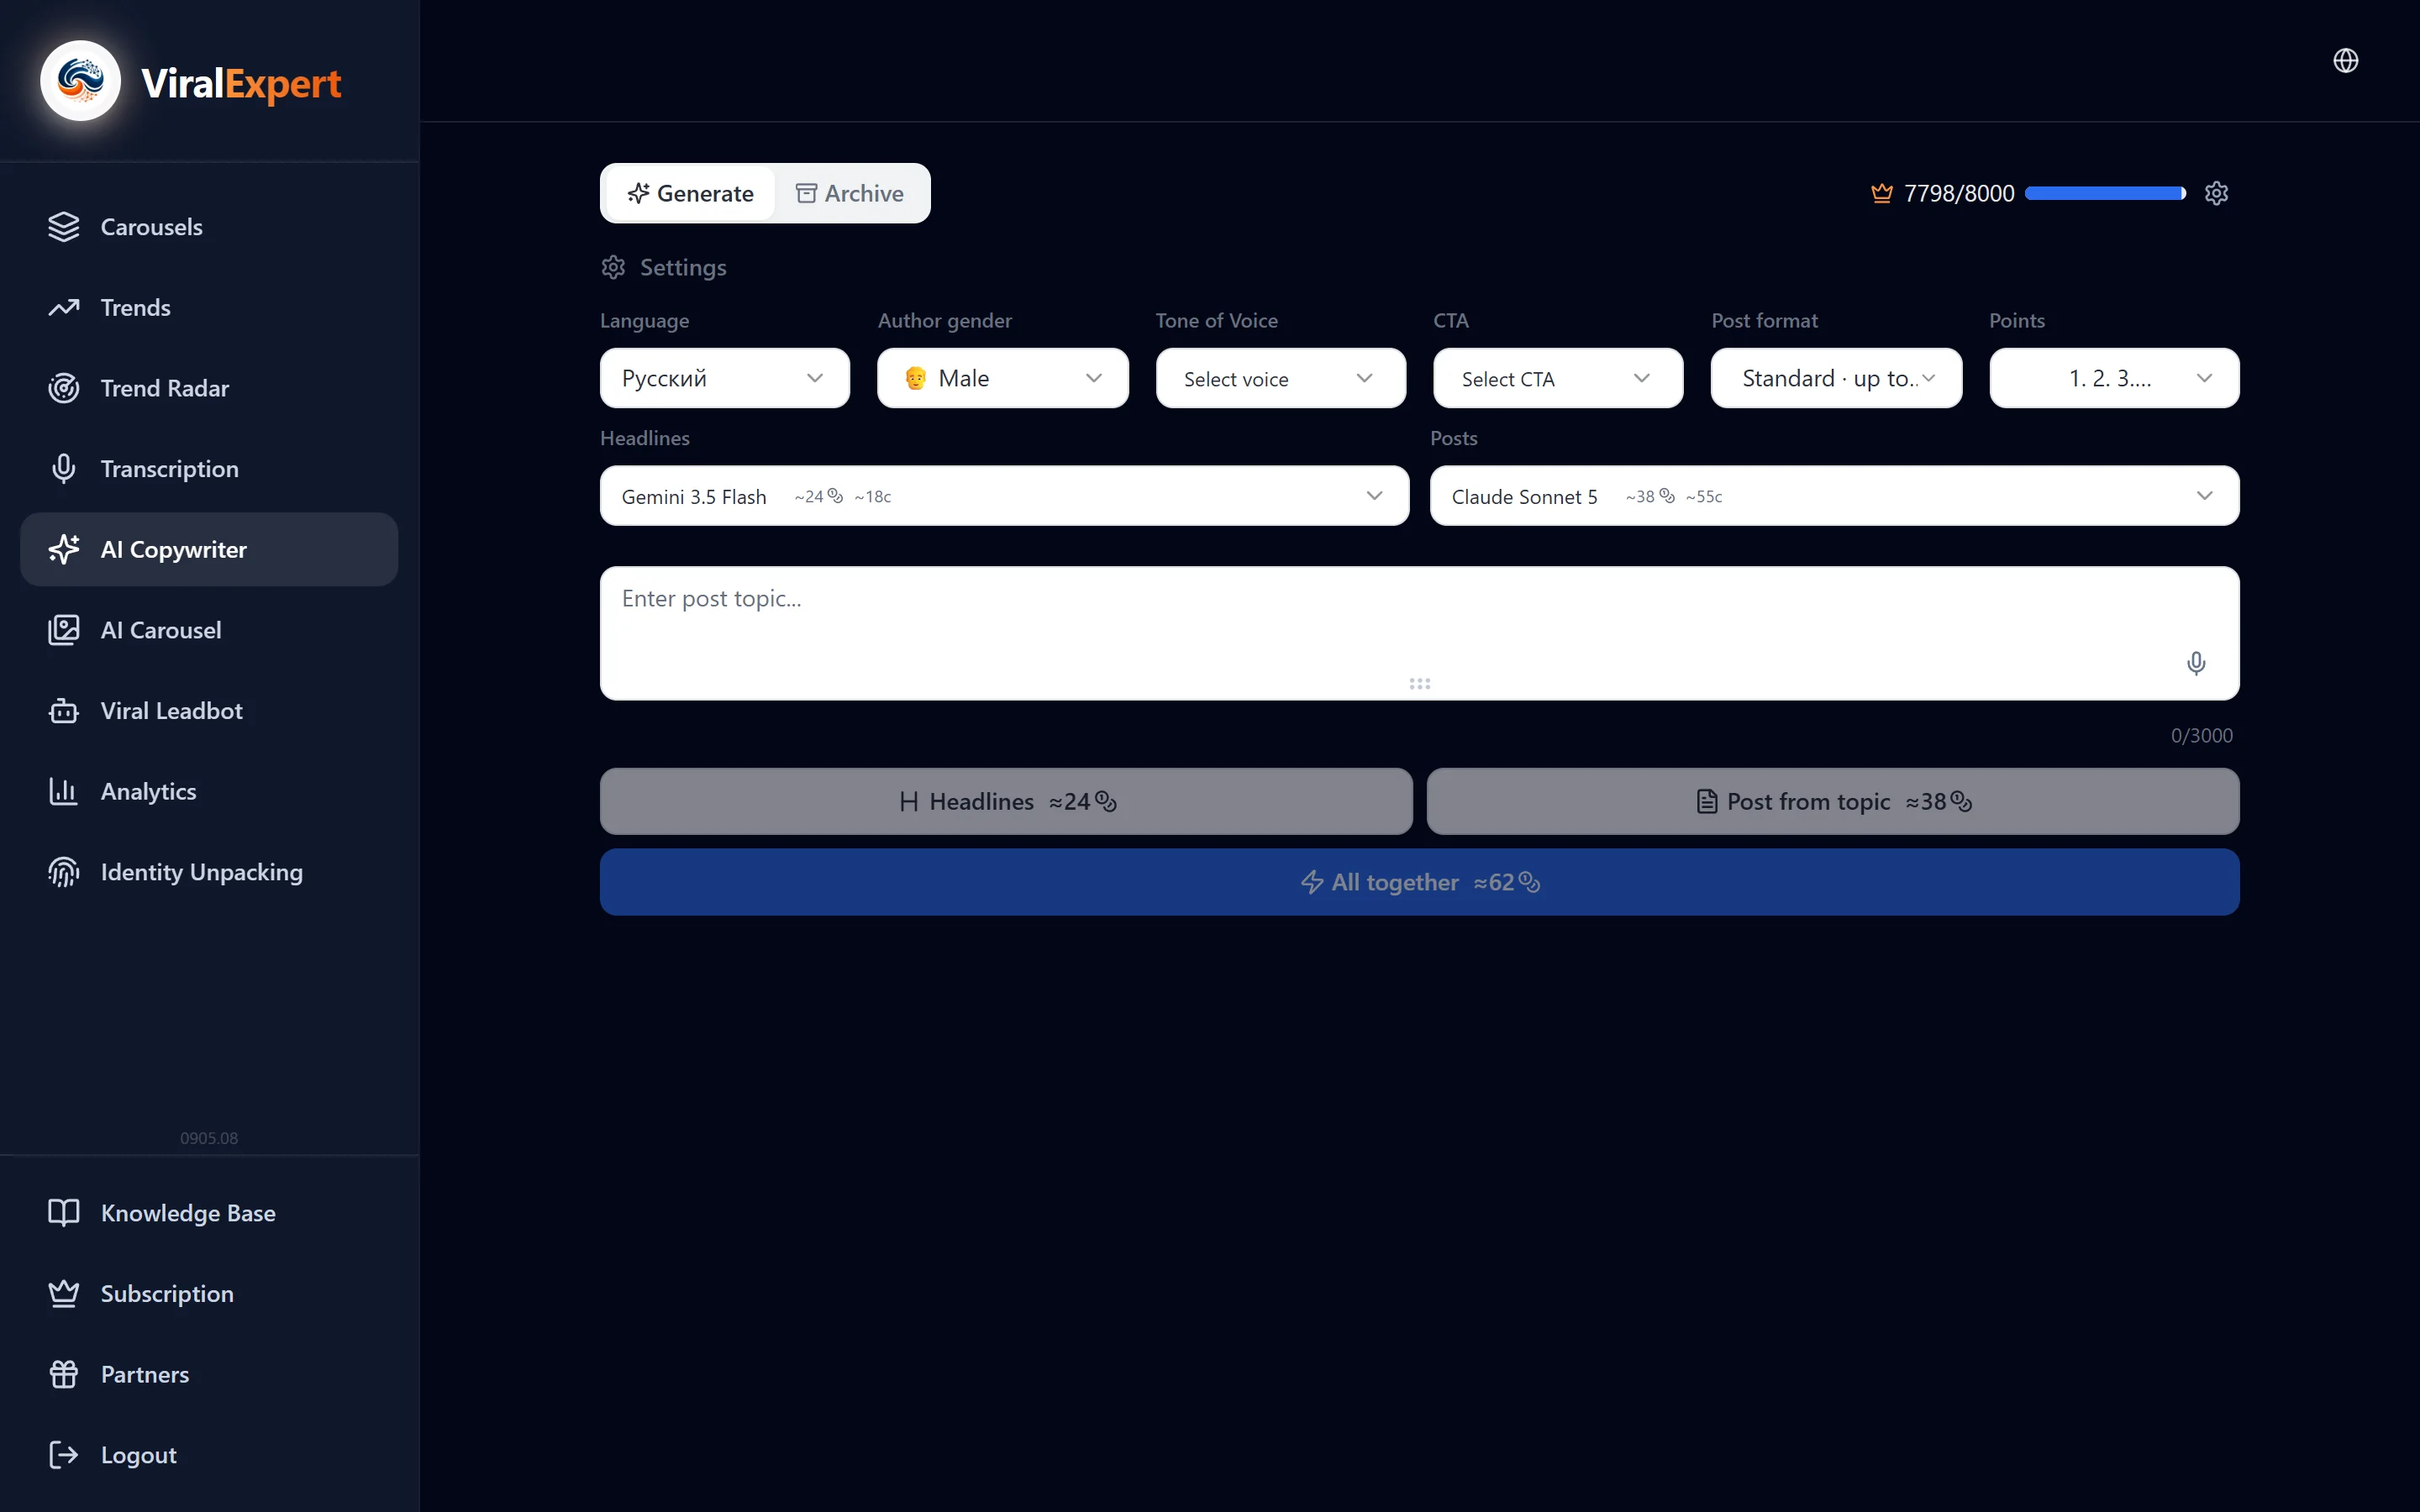
The “Settings” panel on the left (on top on mobile) defines how the text is written.
- Language — Russian, English, Ukrainian, Spanish, German, Polish, Czech, Finnish, Estonian, Latvian. This is the language of the text, not the interface
- Author gender — 👨 male, 👩 female or 🏢 brand (“we”): it affects word endings and address
- Post format — standard (up to 2,150 characters) or short (up to 1,200)
- Bullets — how lists look in the post: numbering, plain paragraphs, • dot, ◦ circle, ✓ check, 🔥 fire, - dash, ◆ diamond, → arrow, ✦ spark
Pick a Tone of Voice
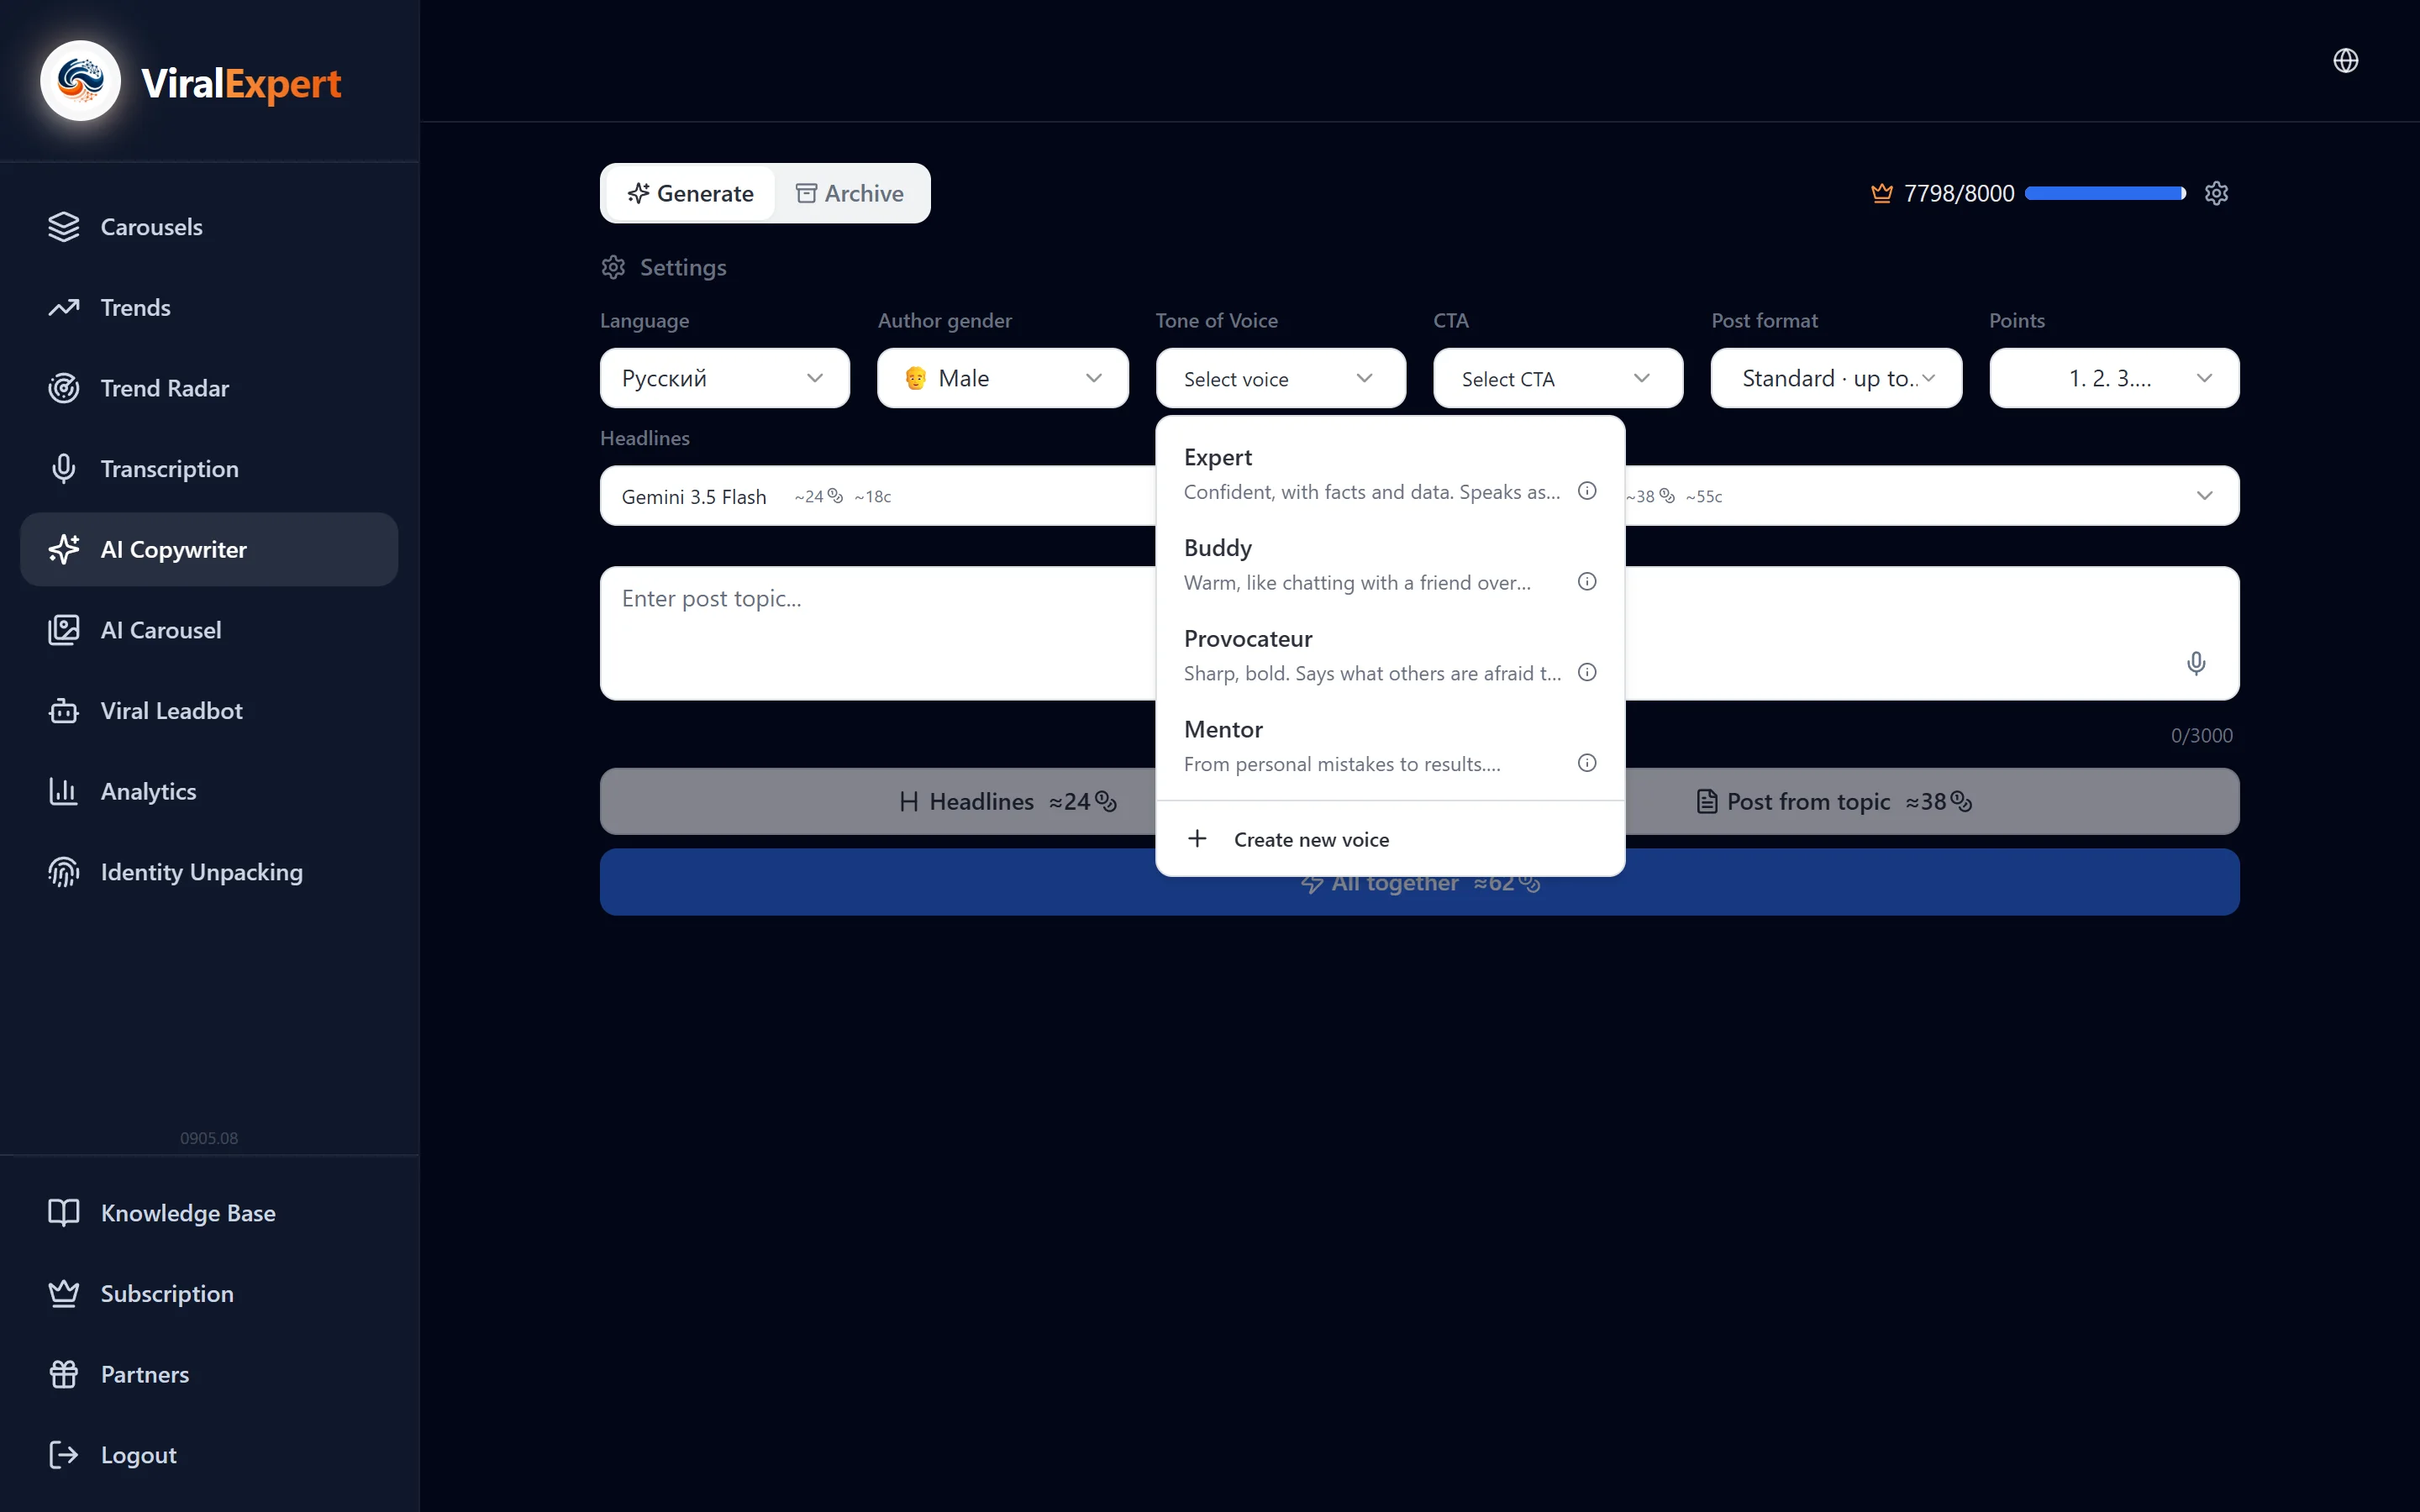
The voice is a set of rules for how the text sounds. Open the “Tone of Voice” dropdown.
Ready-made presets
- Expert — confident, with facts and data, speaks as an authority
- One of us — warm, like a chat with a friend over coffee, light humor
- Provocateur — sharp, bold, says what others are afraid to say
- Mentor — from personal mistakes to results, challenges the reader
Your own voice
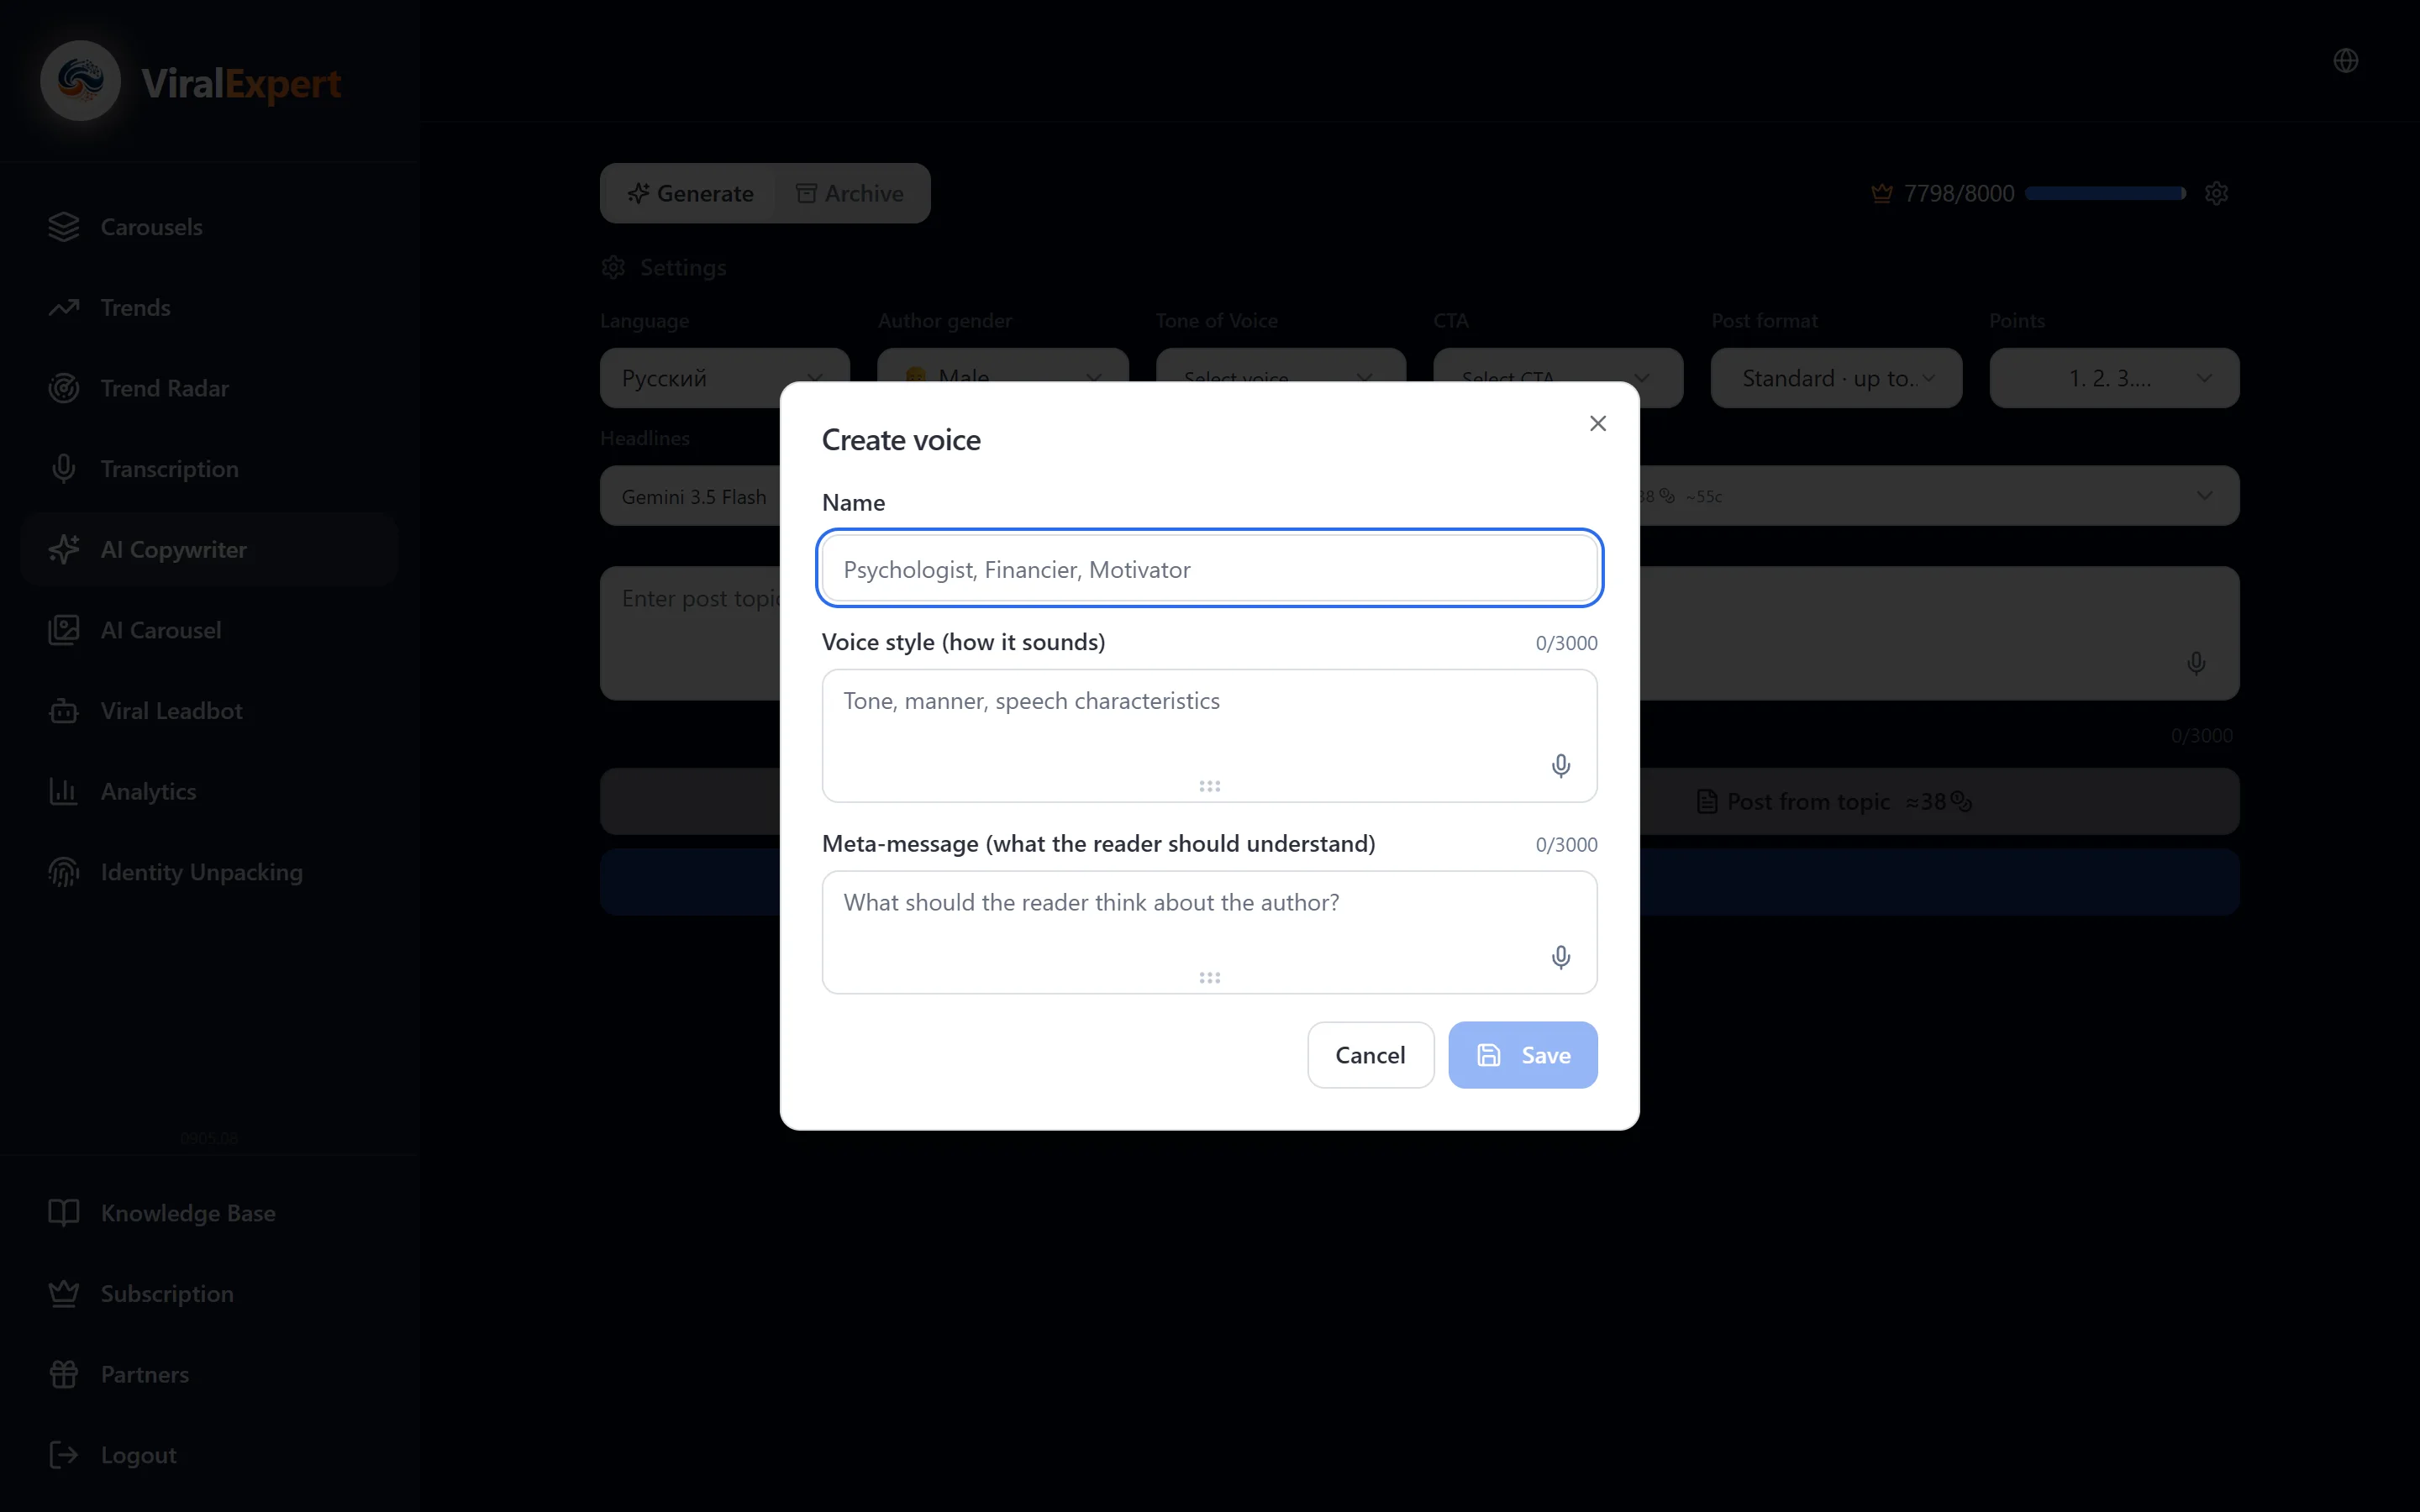
- In the “My voices” block click “Create new voice”
- Fill in the name, the voice style (tone, manner, speech quirks) and the meta-message (what the reader should think about the author)
- A saved voice can be edited and deleted from the same list
Pick a call to action (CTA)
The “CTA” list defines how the post ends.
Ready-made CTAs
- Comment — an open question on the topic, sparks discussion
- Forward — a call to send the post to a friend or colleague
- Subscribe — a subscription to your blog with a promise of content on the topic
- Link — a call to follow the link in the profile bio
Your own CTA
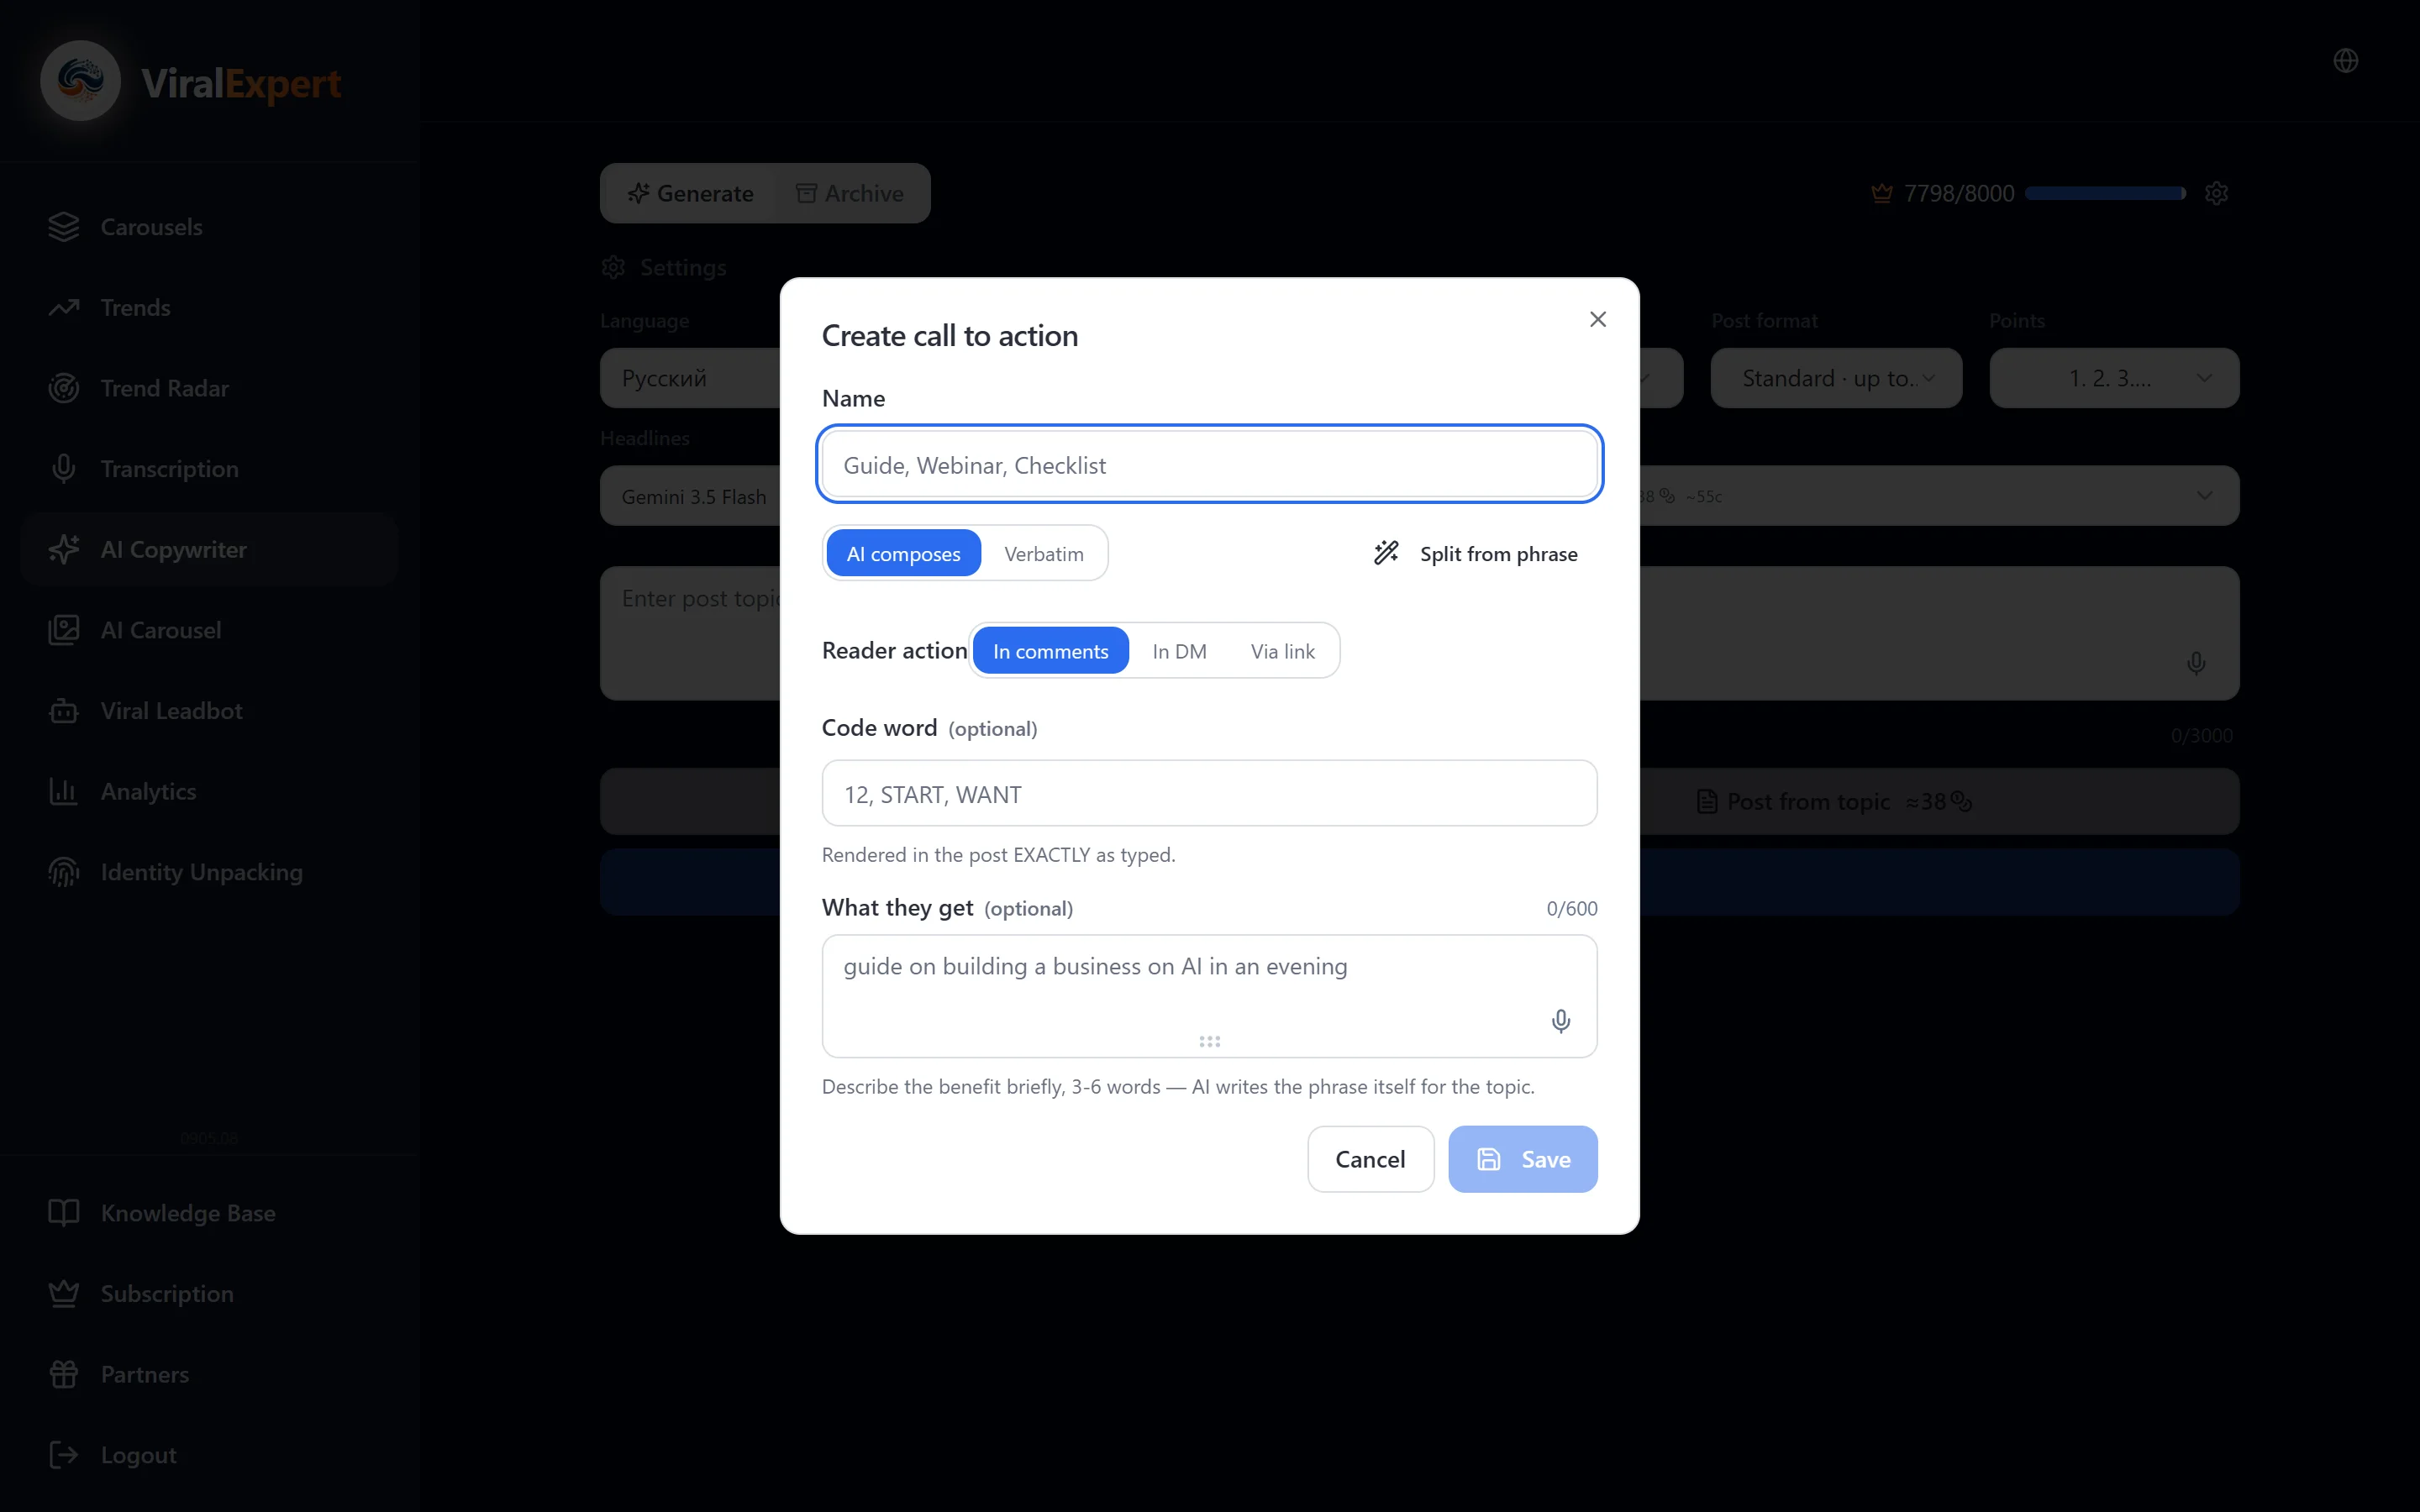
- “Create new CTA” → enter a name (e.g. “Guide”, “Webinar”)
- “AI builds it” mode: set the reader's action (in comments / in DMs / by link), the codeword (e.g. “12” or “START”), what the reader gets — the AI adapts the lead-in to the post topic while keeping the codeword and @links
- “Verbatim” mode: enter the exact CTA text — it goes into the post word for word
- The “Break down a phrase” button splits a finished sentence into the fields for you
Choose the models
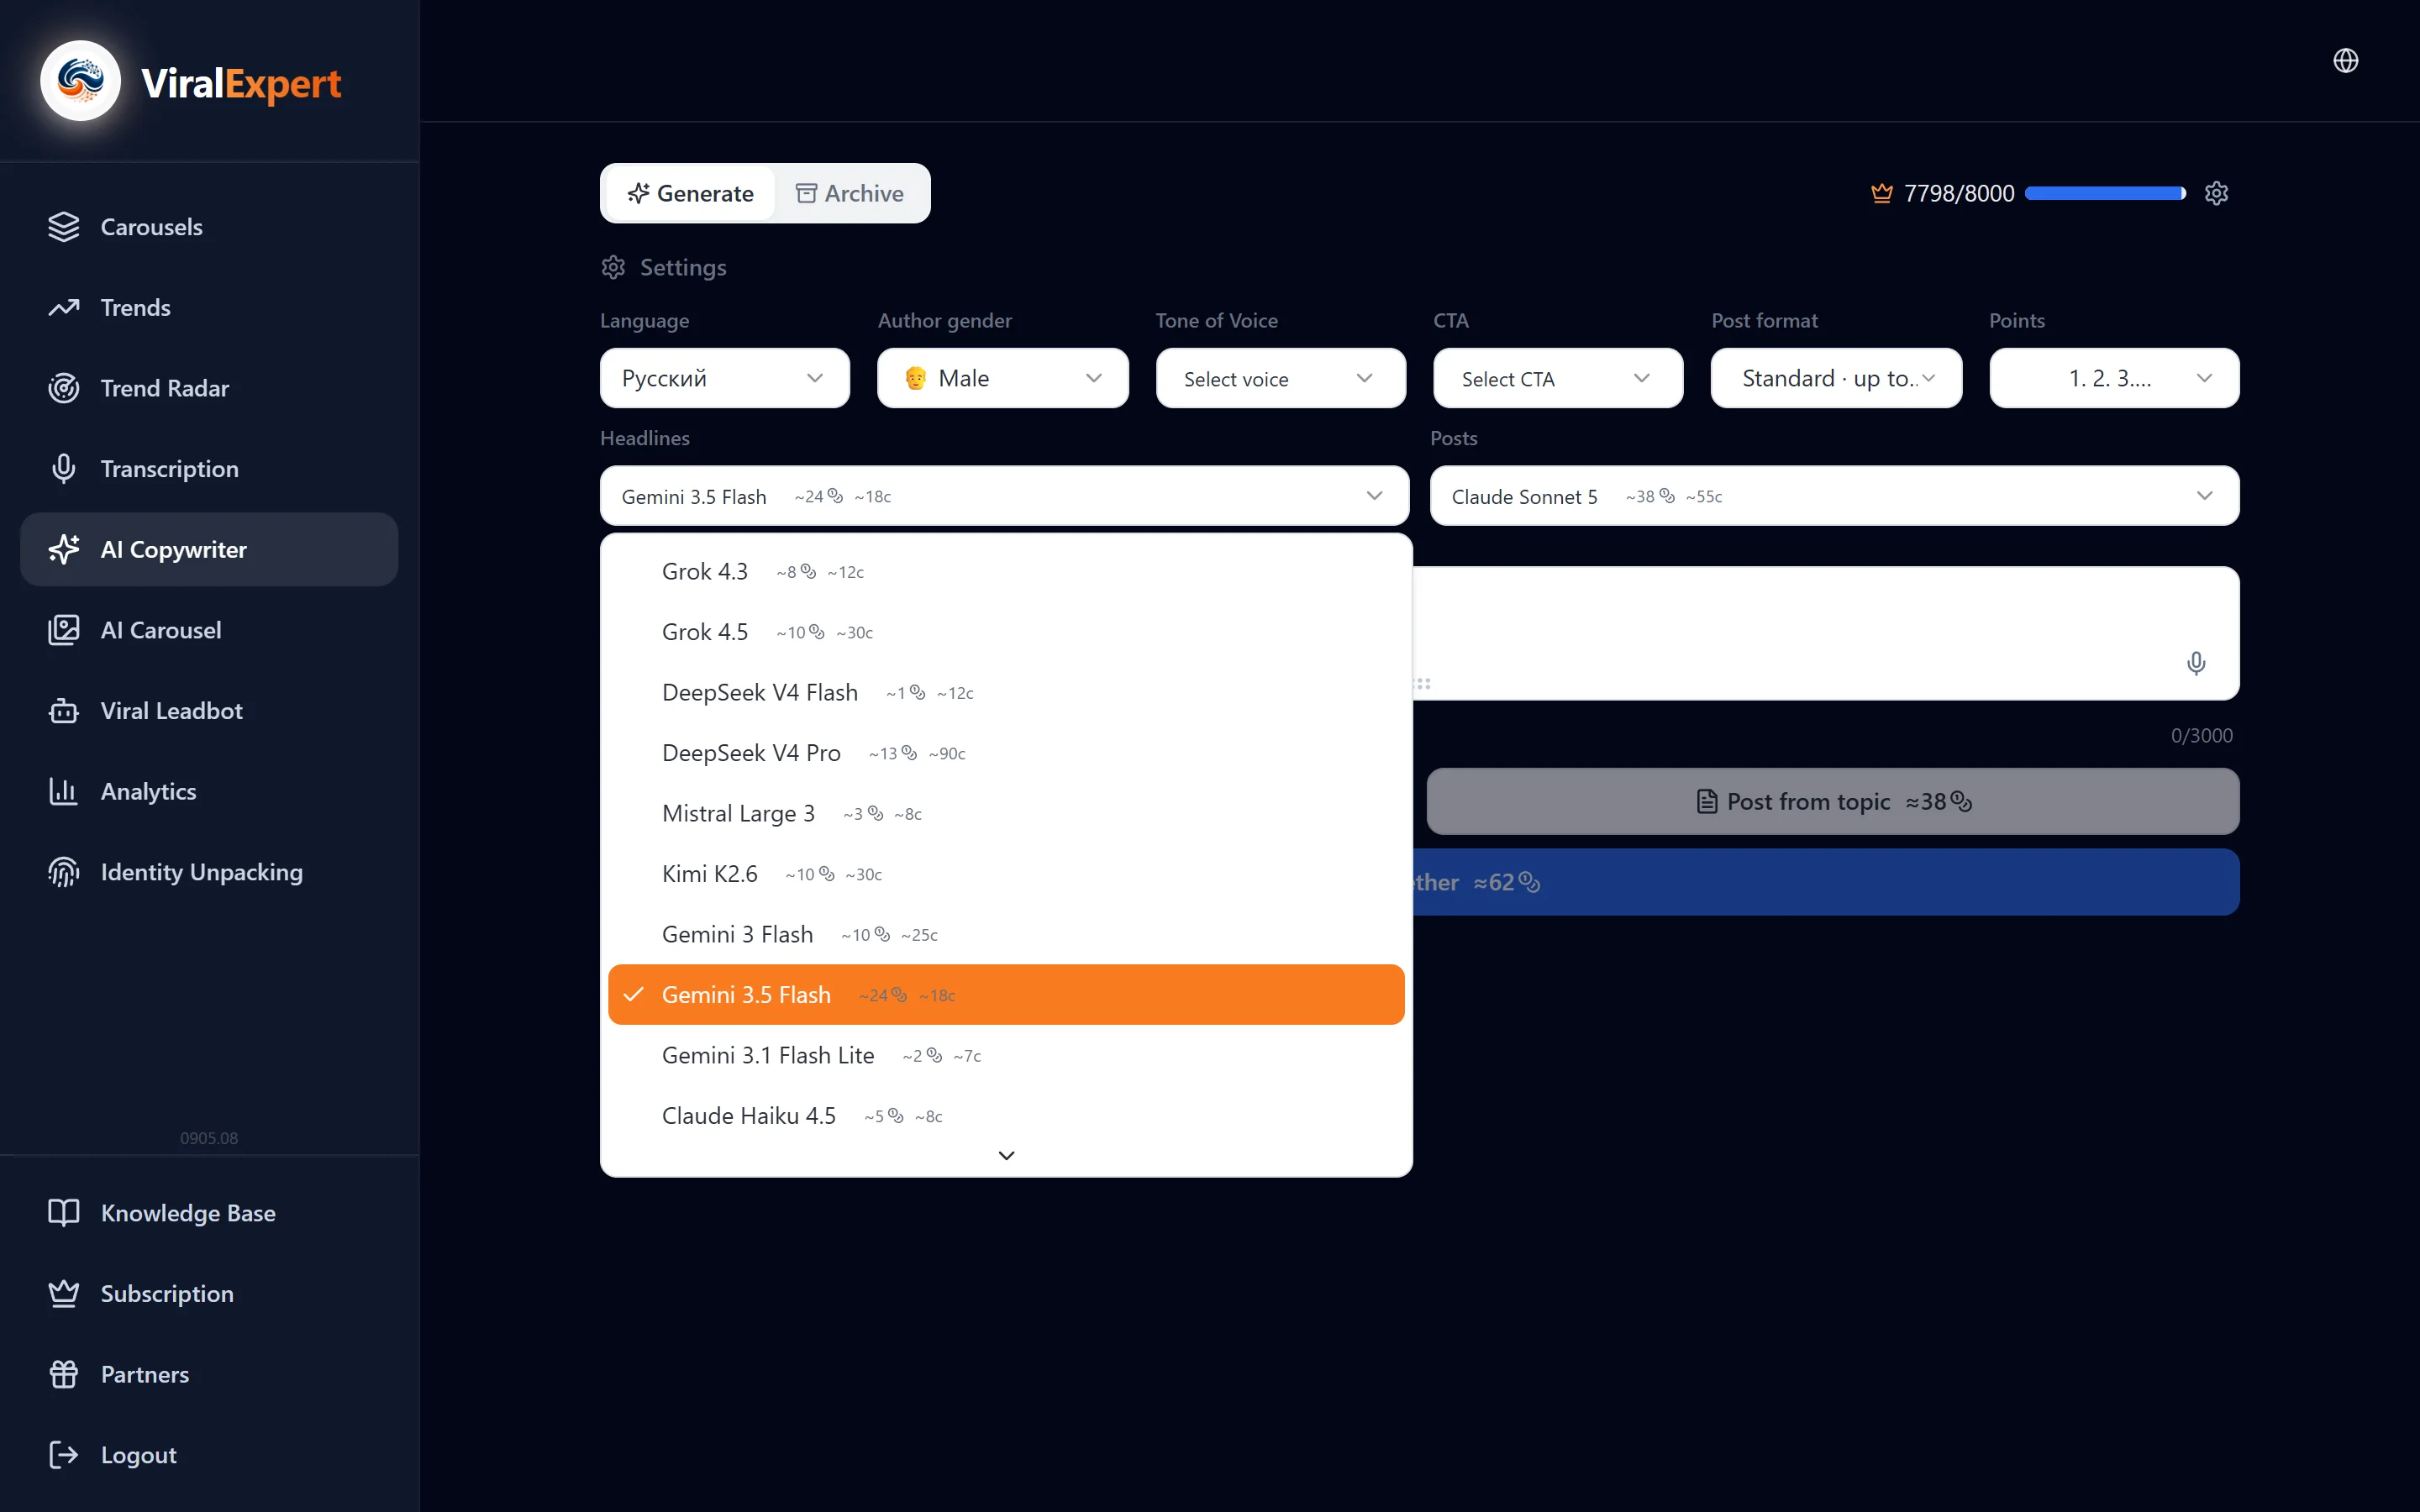
- The 🤖 “Models” block has two settings: the model for headlines and the model for posts
- GPT, Claude, Gemini, Grok and others are available; each has its own price in tokens, shown next to the name
- Use a light model for quick drafts and a strong one for the final text
Enter the topic
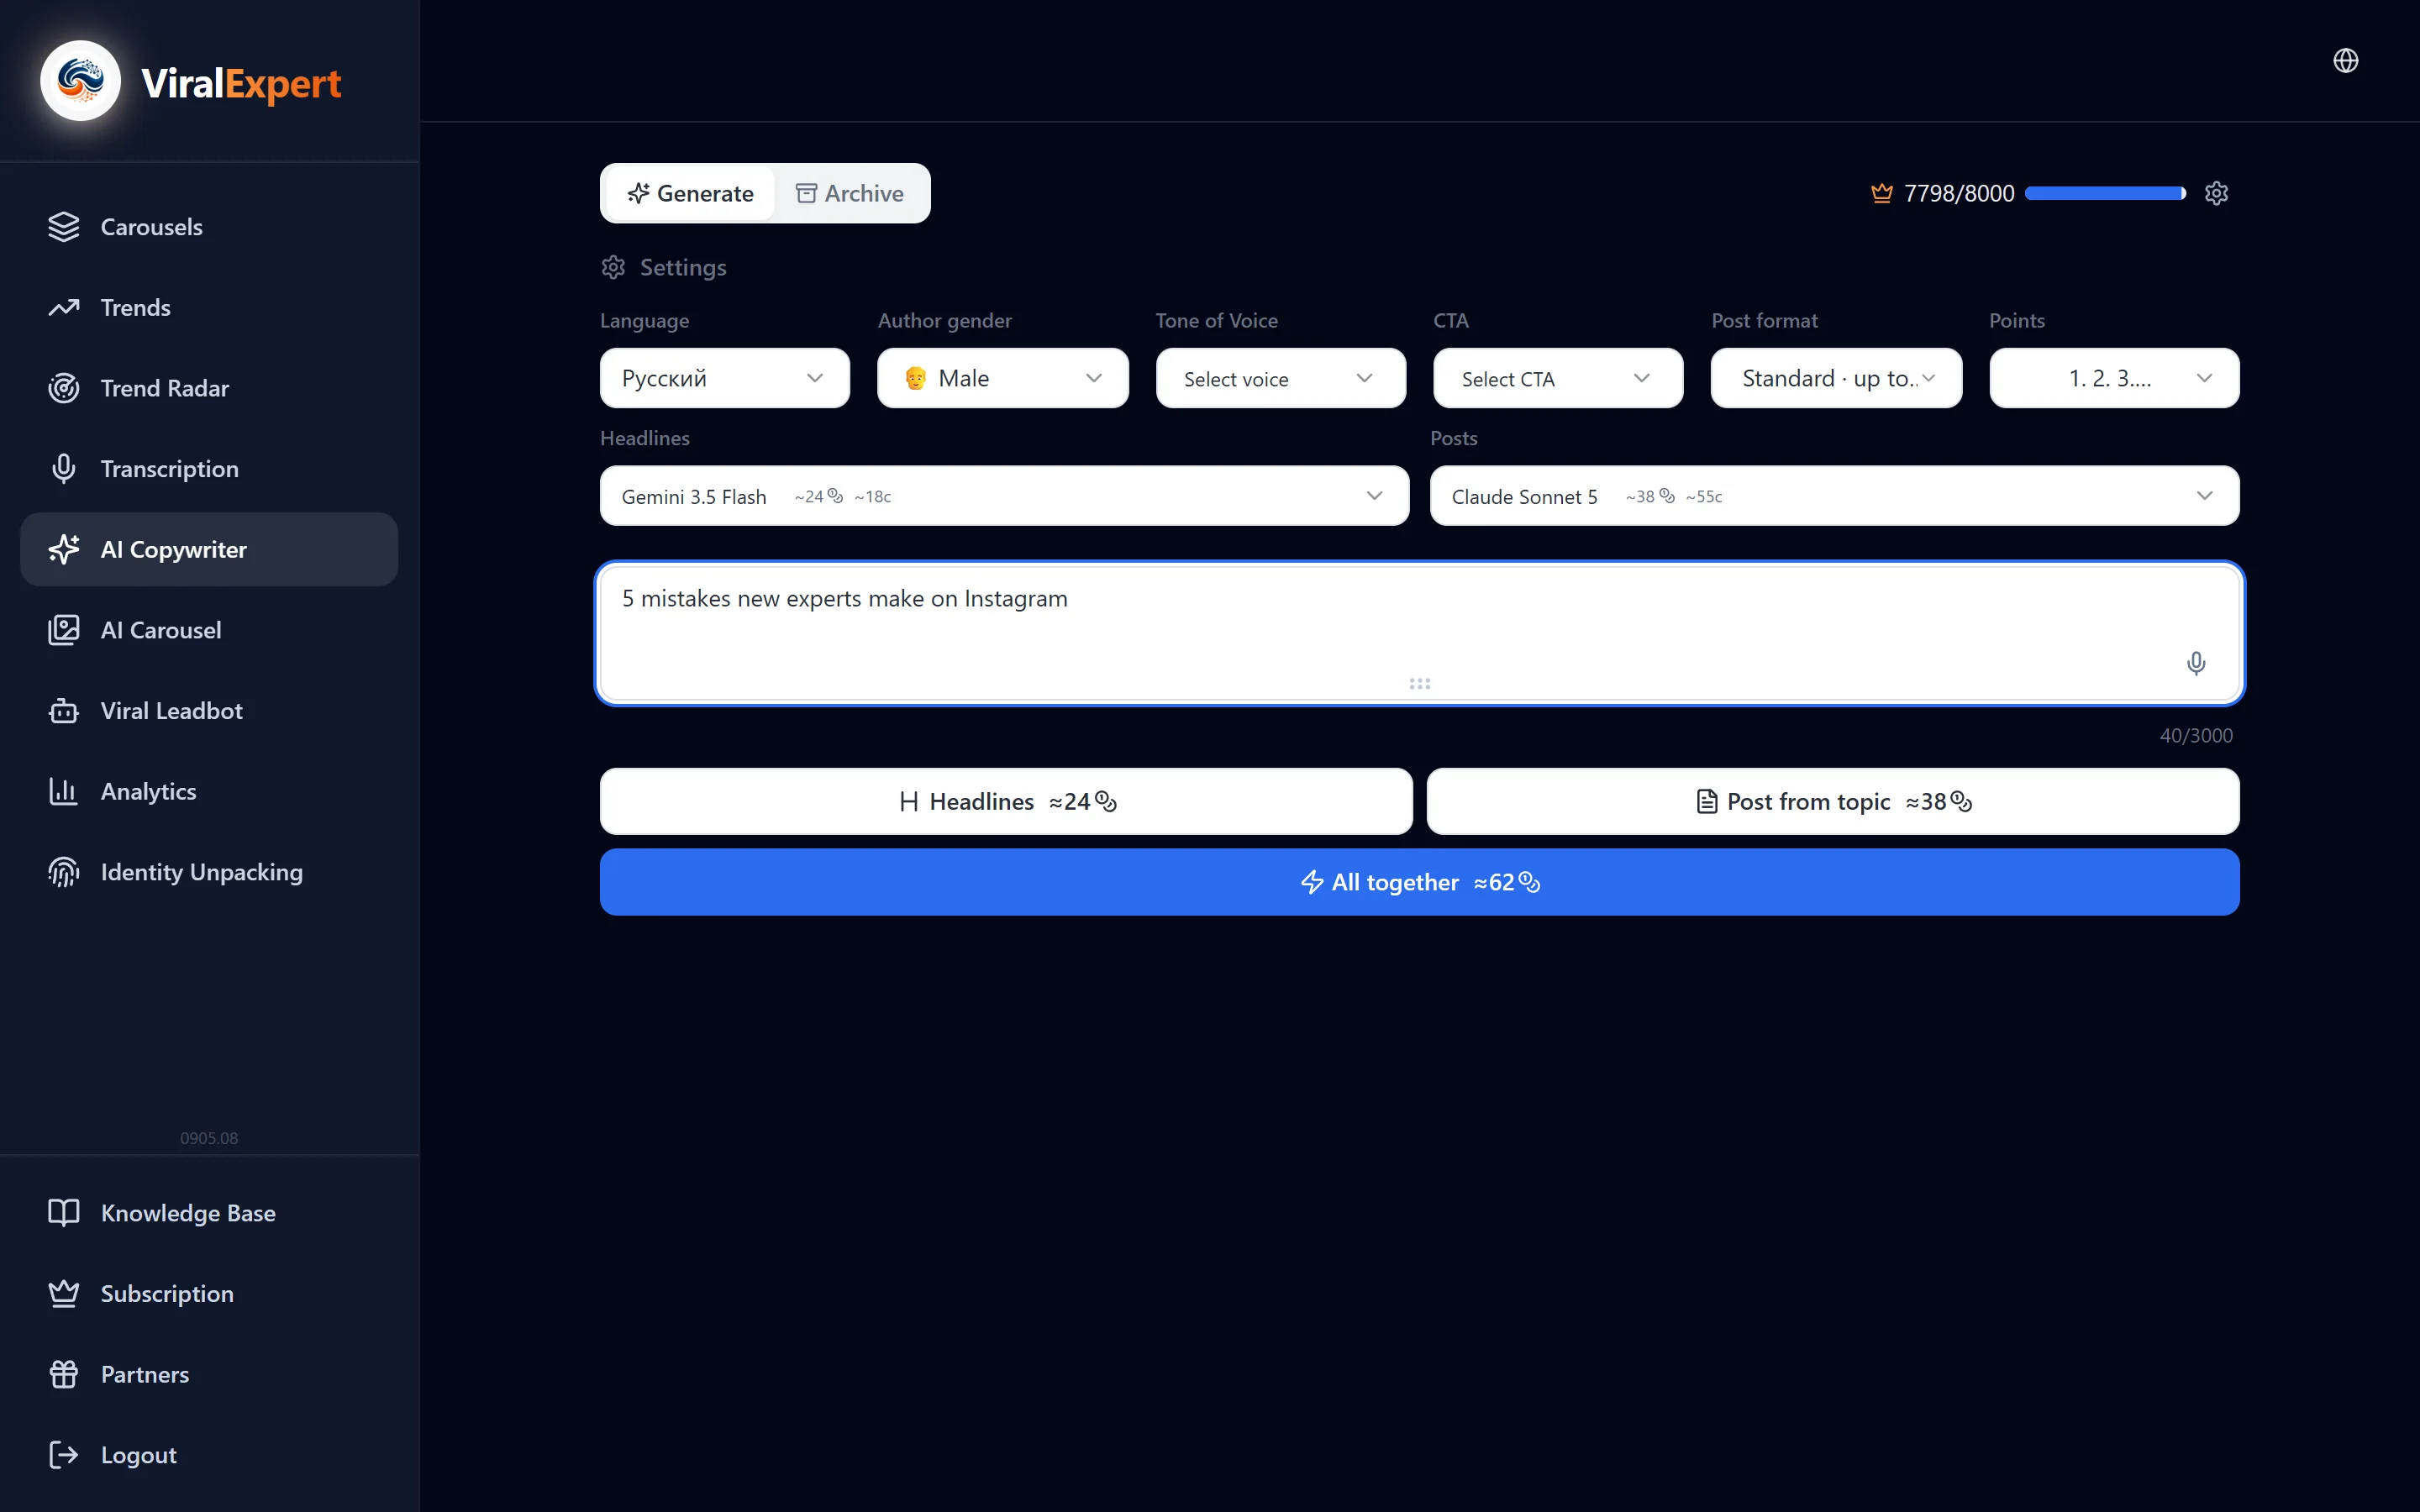
- In the “Enter the post topic...” field describe what to write about: one phrase or a whole paragraph with details
- The counter under the field shows how many characters are left
- The microphone button is voice input: press it, say the topic, press “Stop and transcribe”. Up to 3 minutes per recording, up to 60 minutes a day
Generate headlines and the post
Three buttons under the topic field:
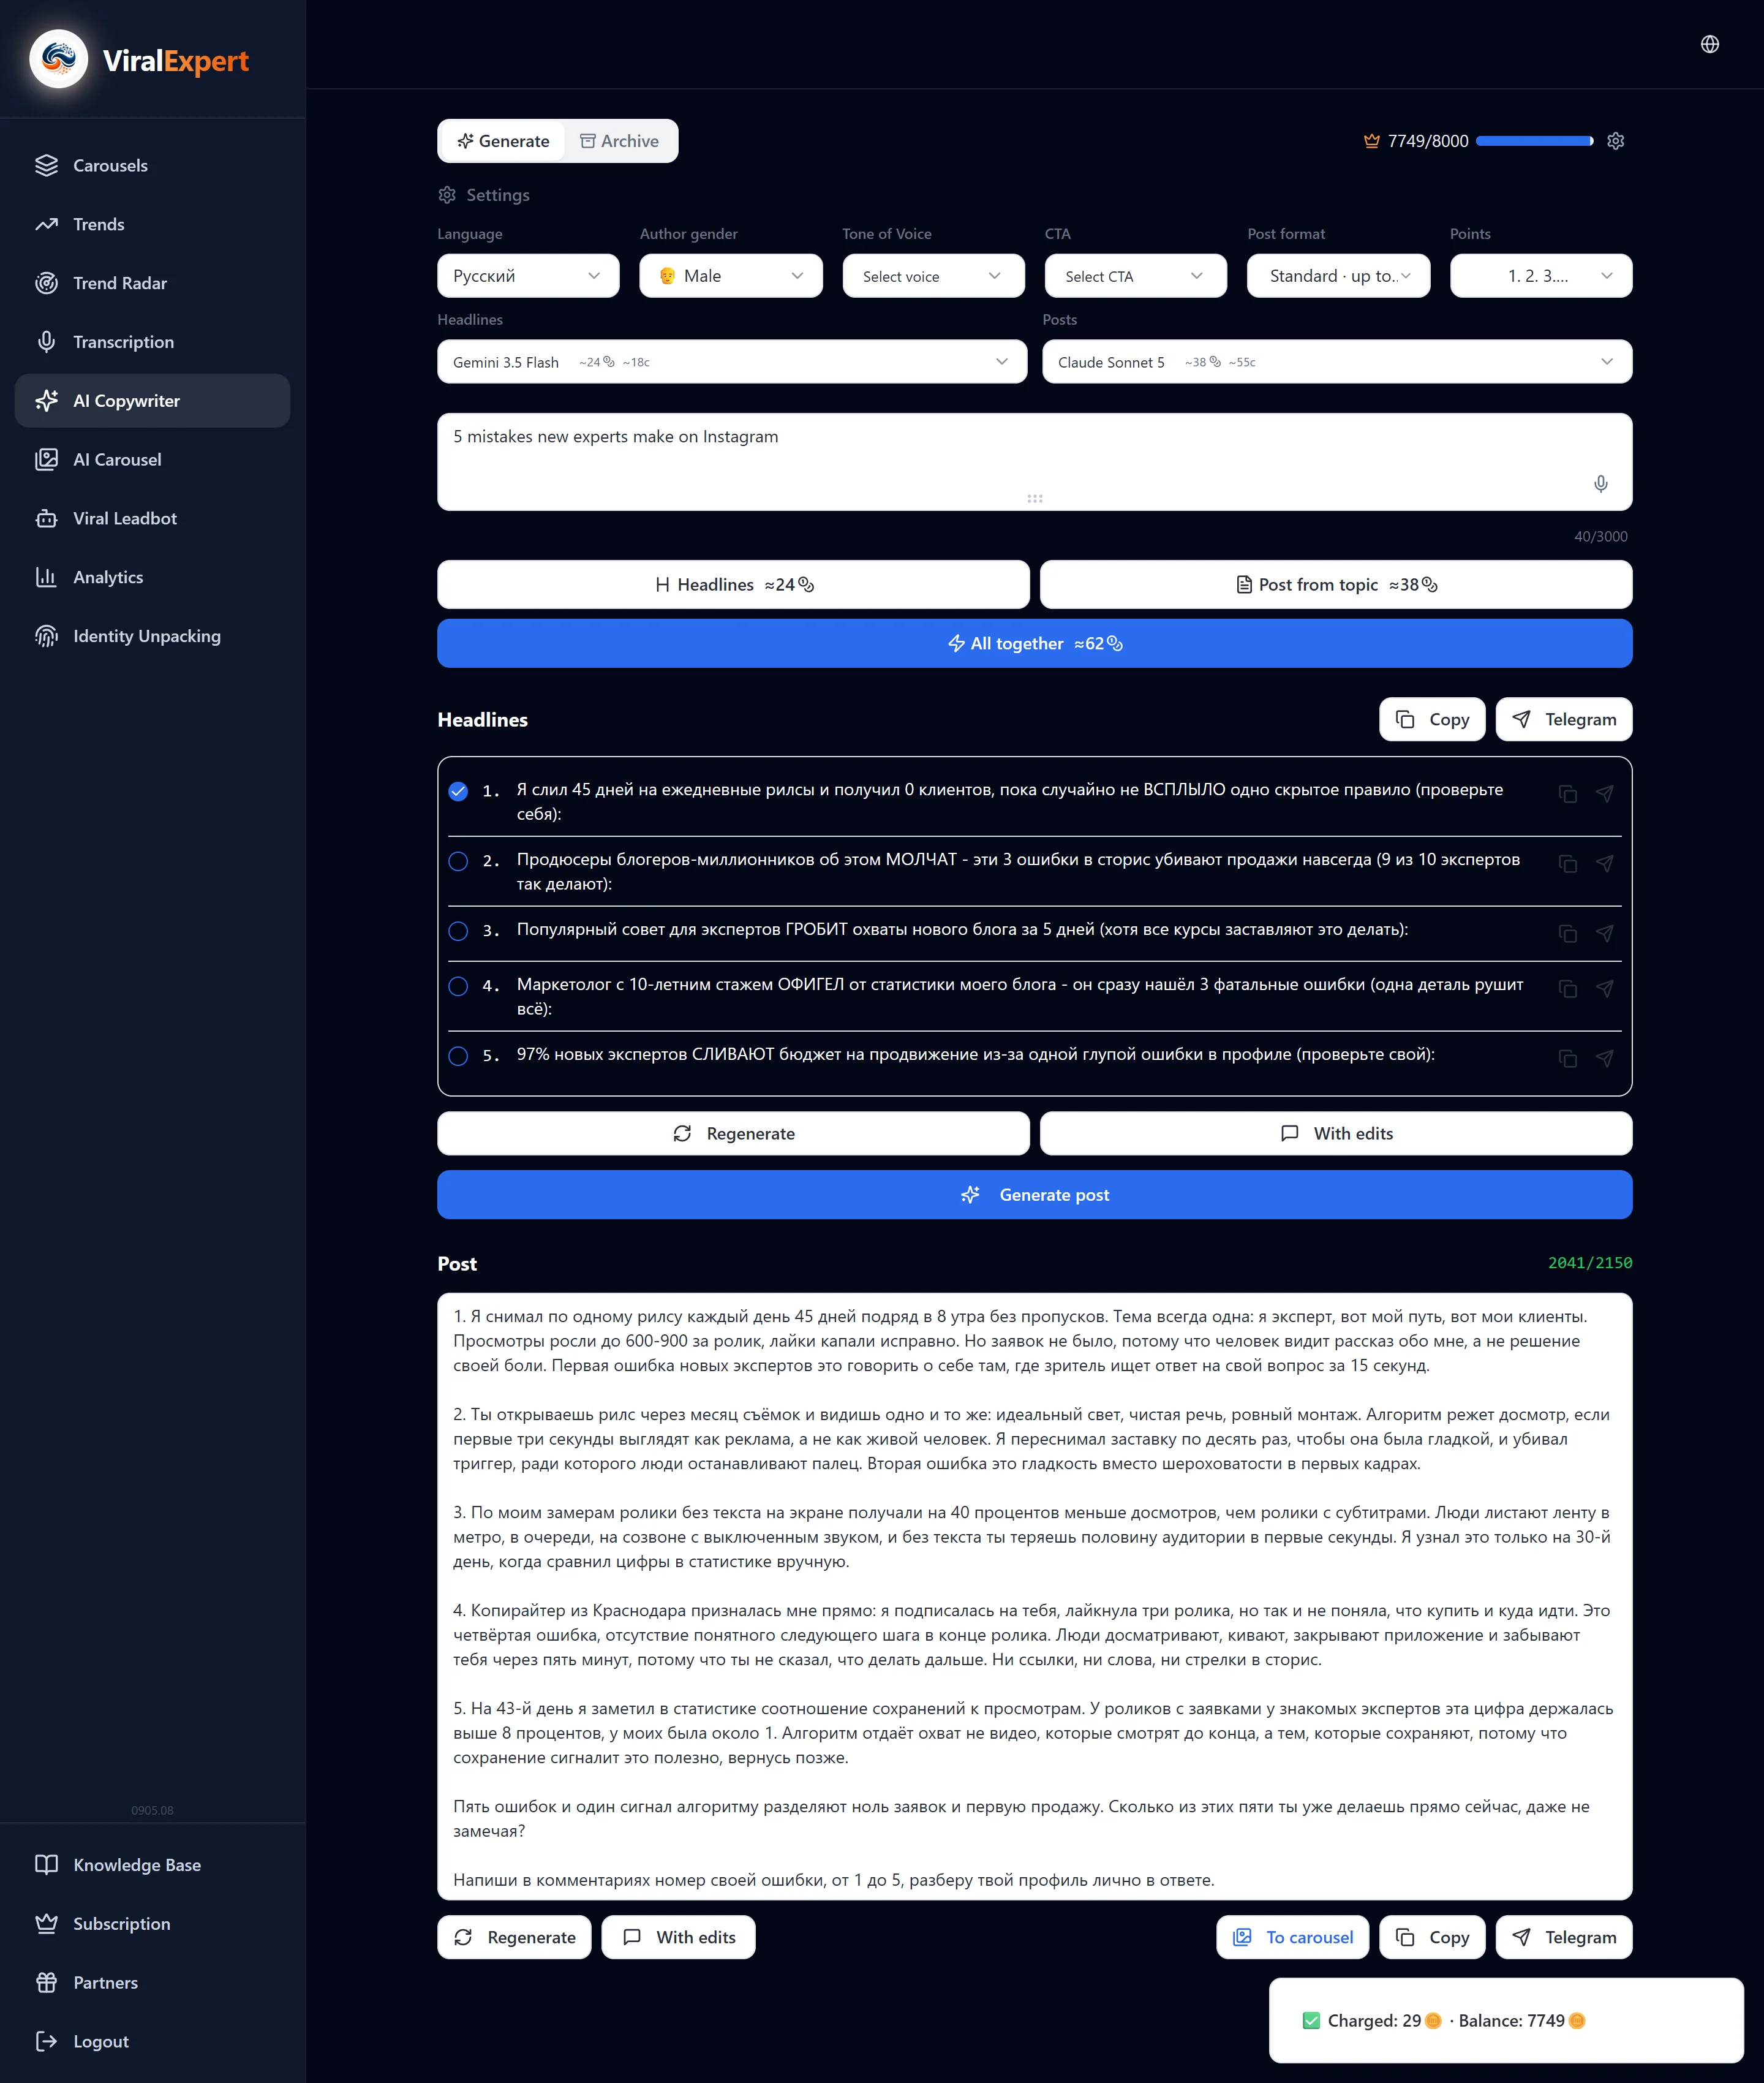
- “Headline” — several headline options. Pick the best and click “Generate post” right under it
- “Post on topic” — a finished post straight away, without picking a headline
- “All at once” — headlines and a post in a single generation
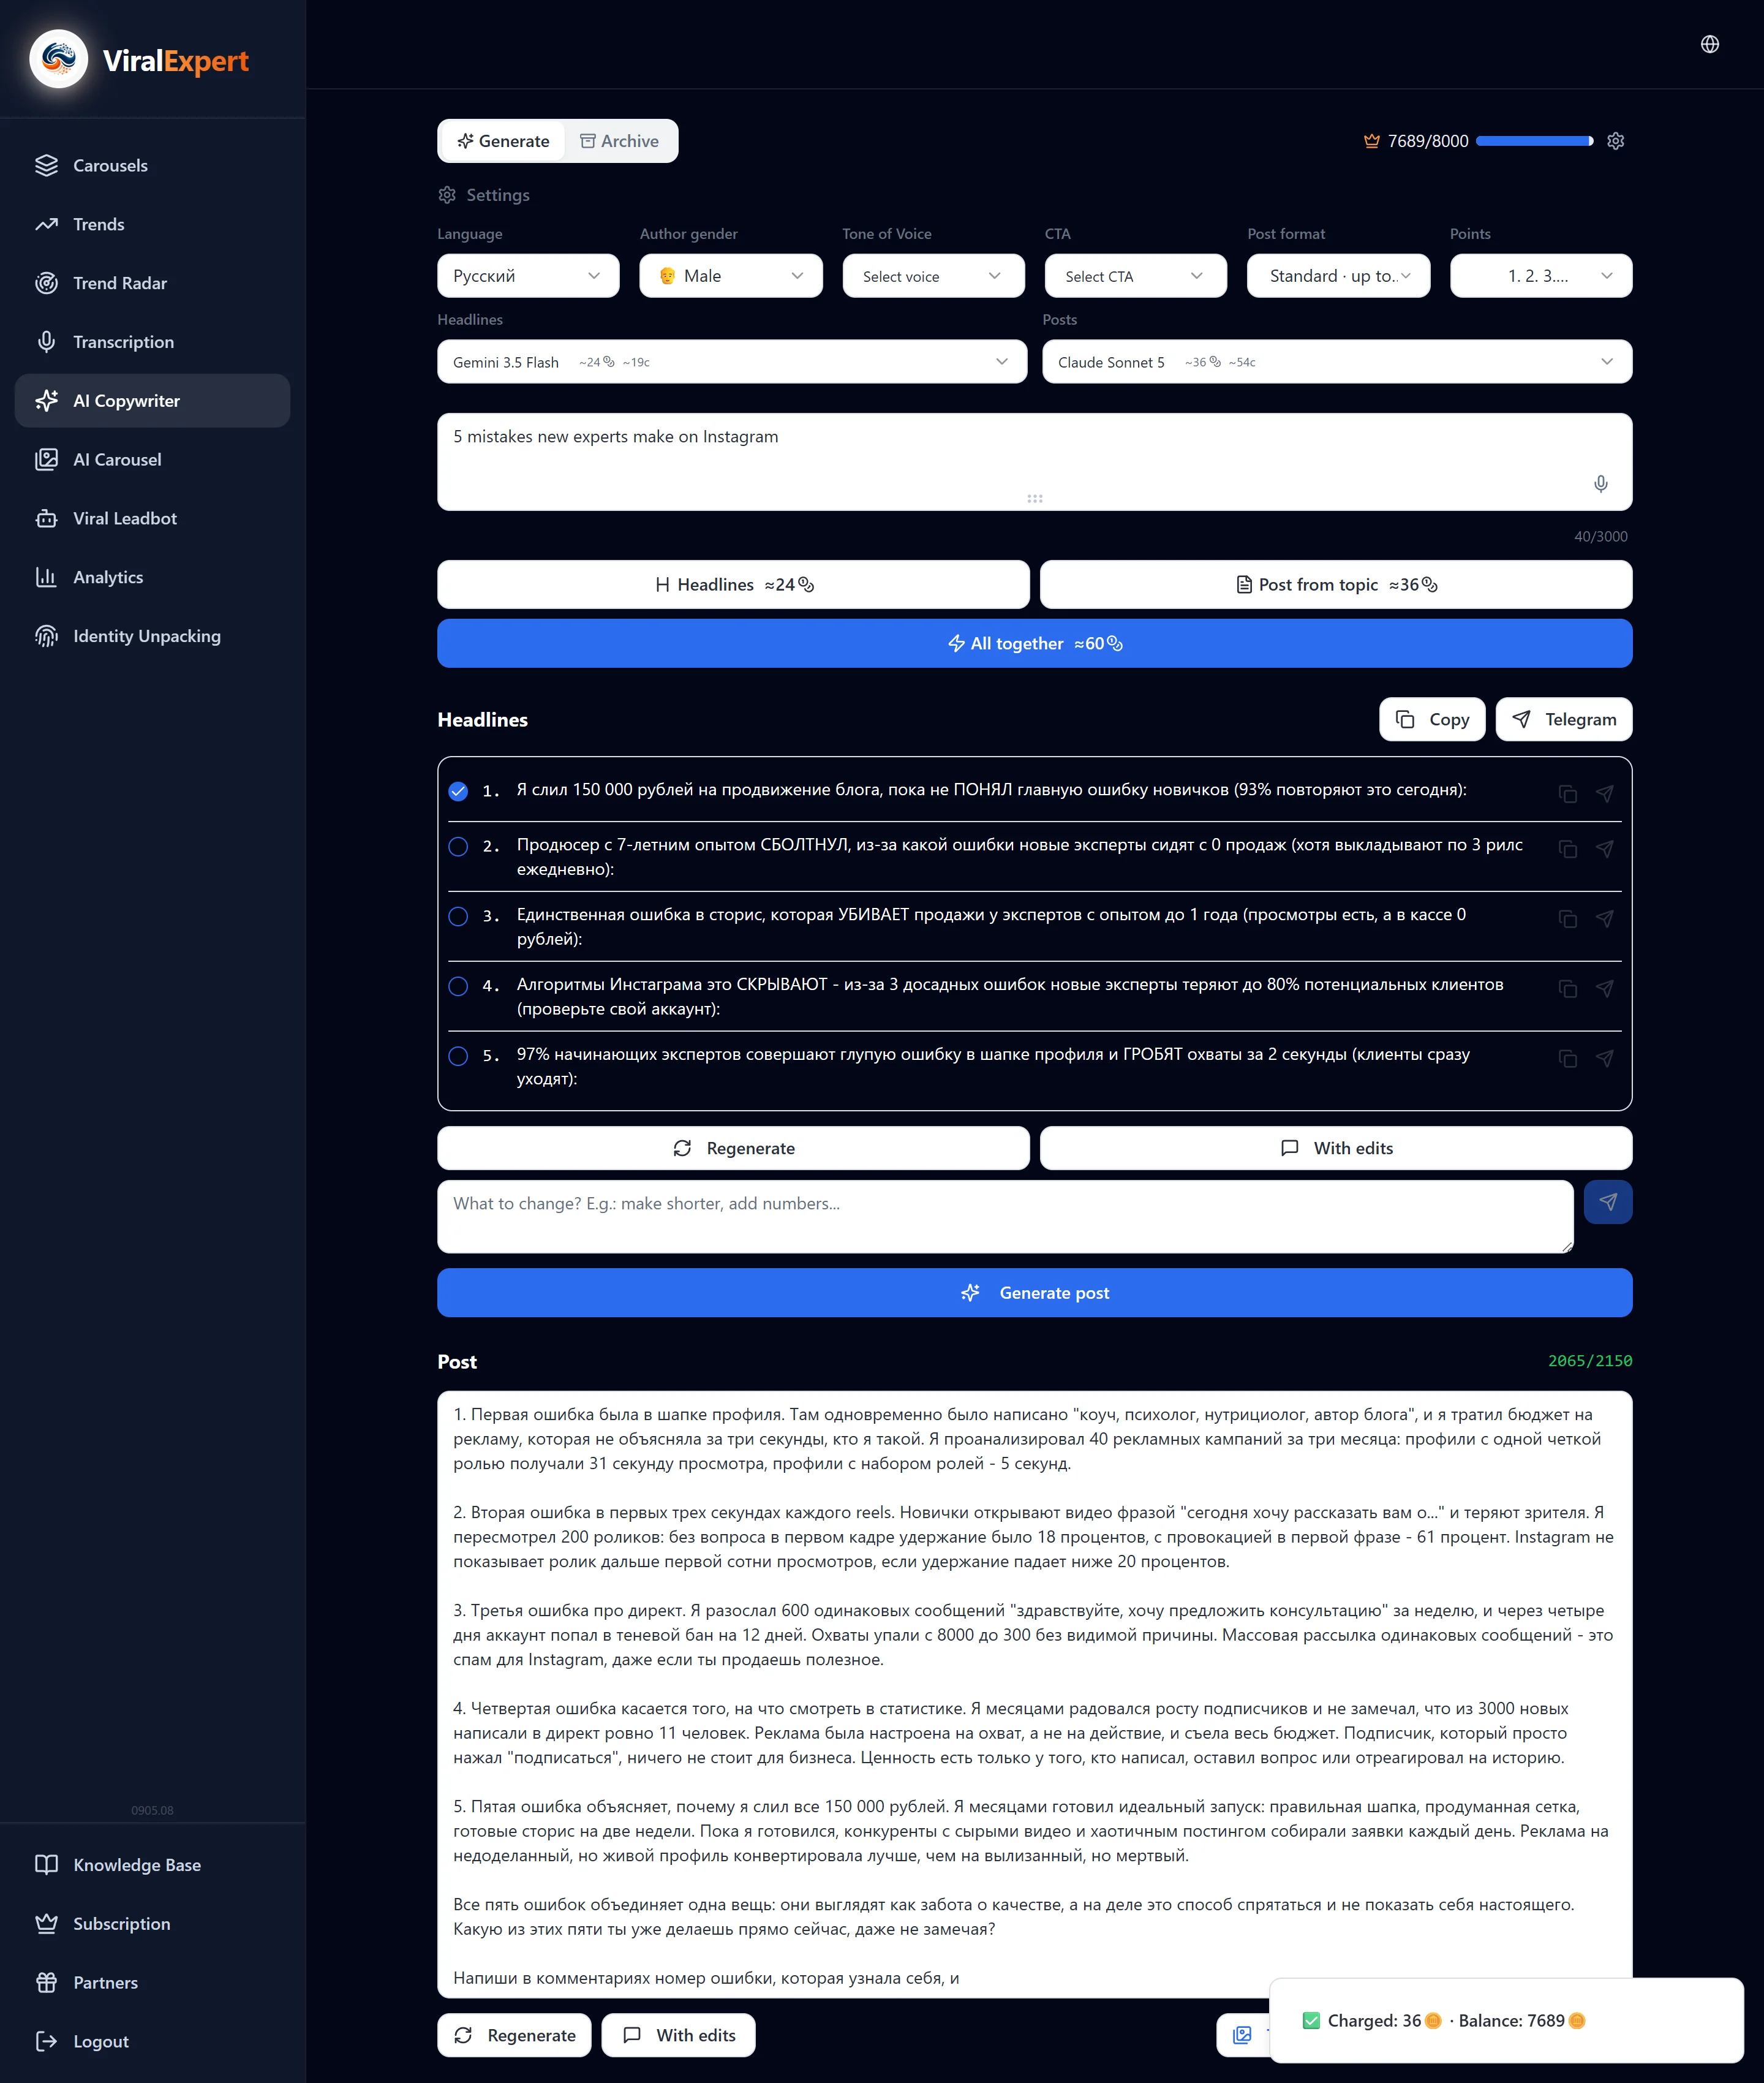
A progress indicator shows during generation; the tokens spent and the remaining balance appear as a notification.
Refine the text
- Click a headline or the post — the text is editable in place, and an “edited” mark appears next to it
- “Regenerate” — a new version with the same settings
- “With edits” — write what to change (“make it shorter”, “add numbers”) and click “Send”
Copy or send to Telegram
- Every headline and post has “Copy”; for headlines there is also “Copy all”
- “Telegram” sends the text to the chat with the ViralExpert bot — handy for forwarding to a channel from your phone
- If Telegram isn't connected, a hint appears — connecting takes a minute (see “Connecting Telegram”)
Archive and reuse
- The “Archive” tab keeps all headlines and posts with filters by type, language and date
- “Reuse” puts the entry's topic back into the field — you can generate a new version
- “Copy source prompt” — the full request to the model, if you want to use it in another tool
- From the archive, text goes “To a carousel”: into the regular editor or into AI Carousel
Text archive
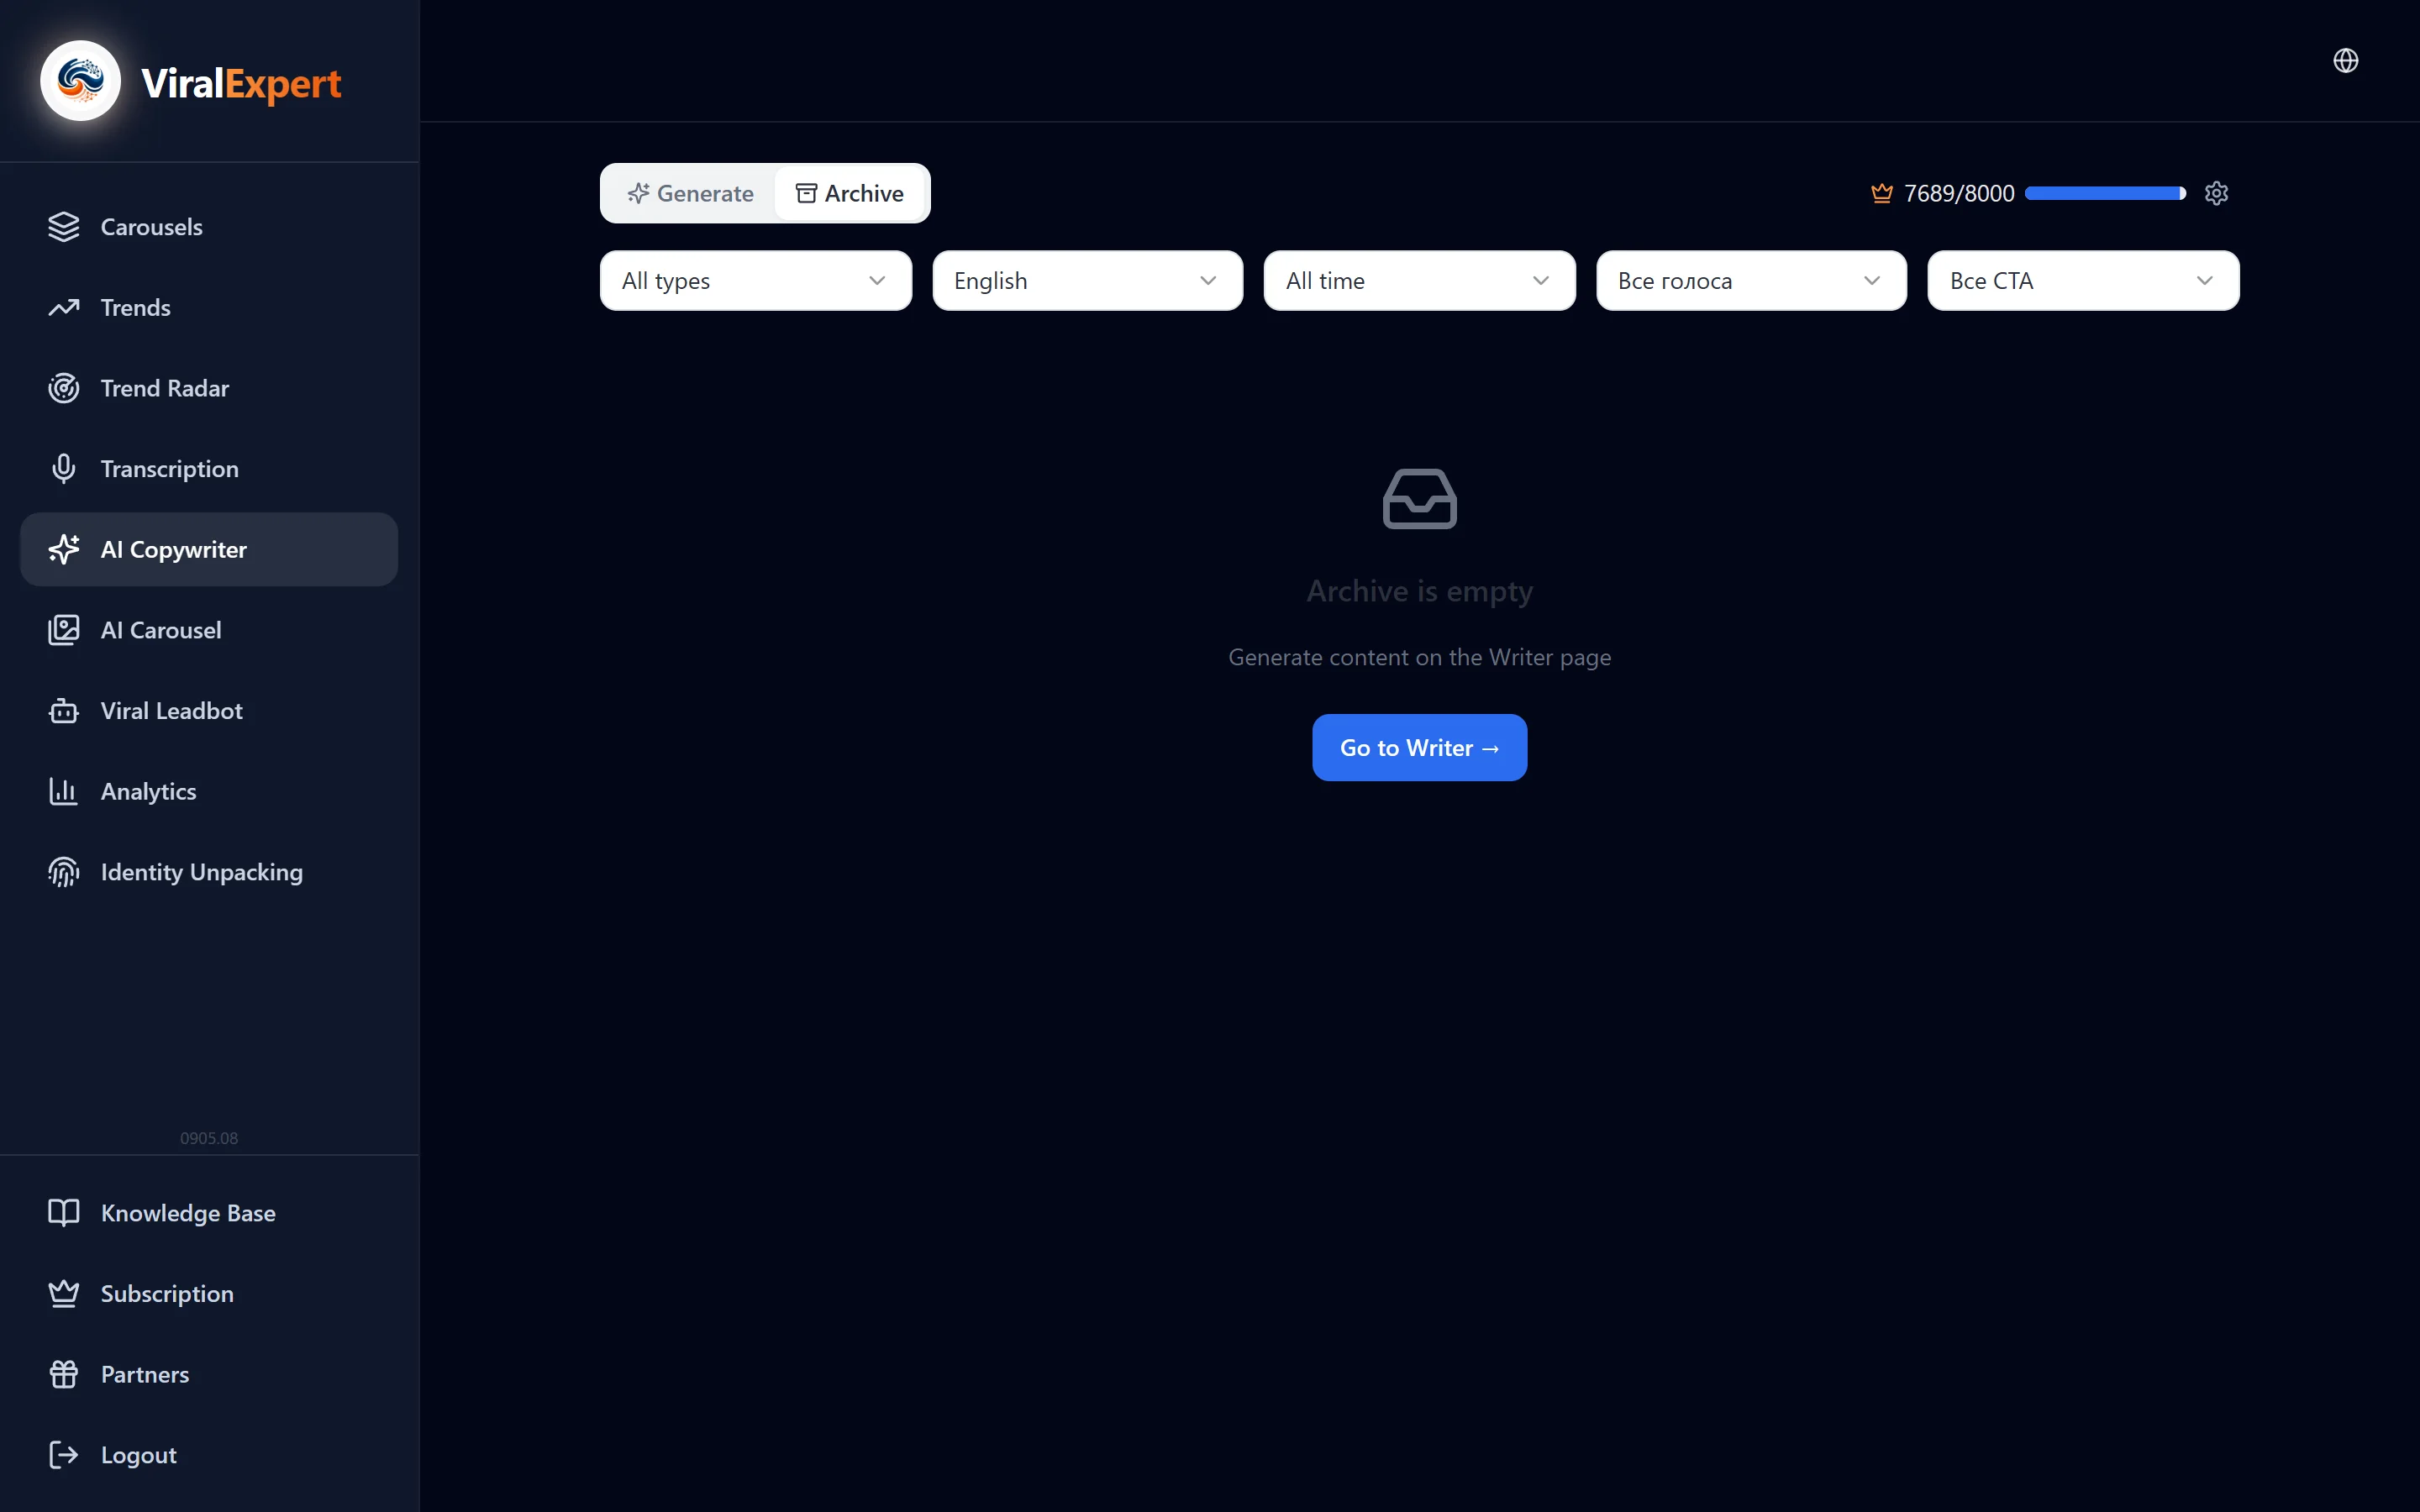
Open the archive and filter the entries
The Archive keeps every copywriter generation — headlines, posts and “headline + post” pairs. Entries are filtered by type, language and date, read in full, copied, sent to Telegram and turned into a carousel in one click: regular or AI. Nothing needs saving by hand — everything lands here automatically.
- In the sidebar click “Archive” (it's also the “Archive” tab inside the AI Copywriter)
- The “Type” filter: all types, headlines only, posts only or “headline + post”
- The “Language” filter — which language the text was generated in
- The “Date” filter: all time, last week, last month, last 3 months
- At the bottom of the list — “Load more”
Read an entry
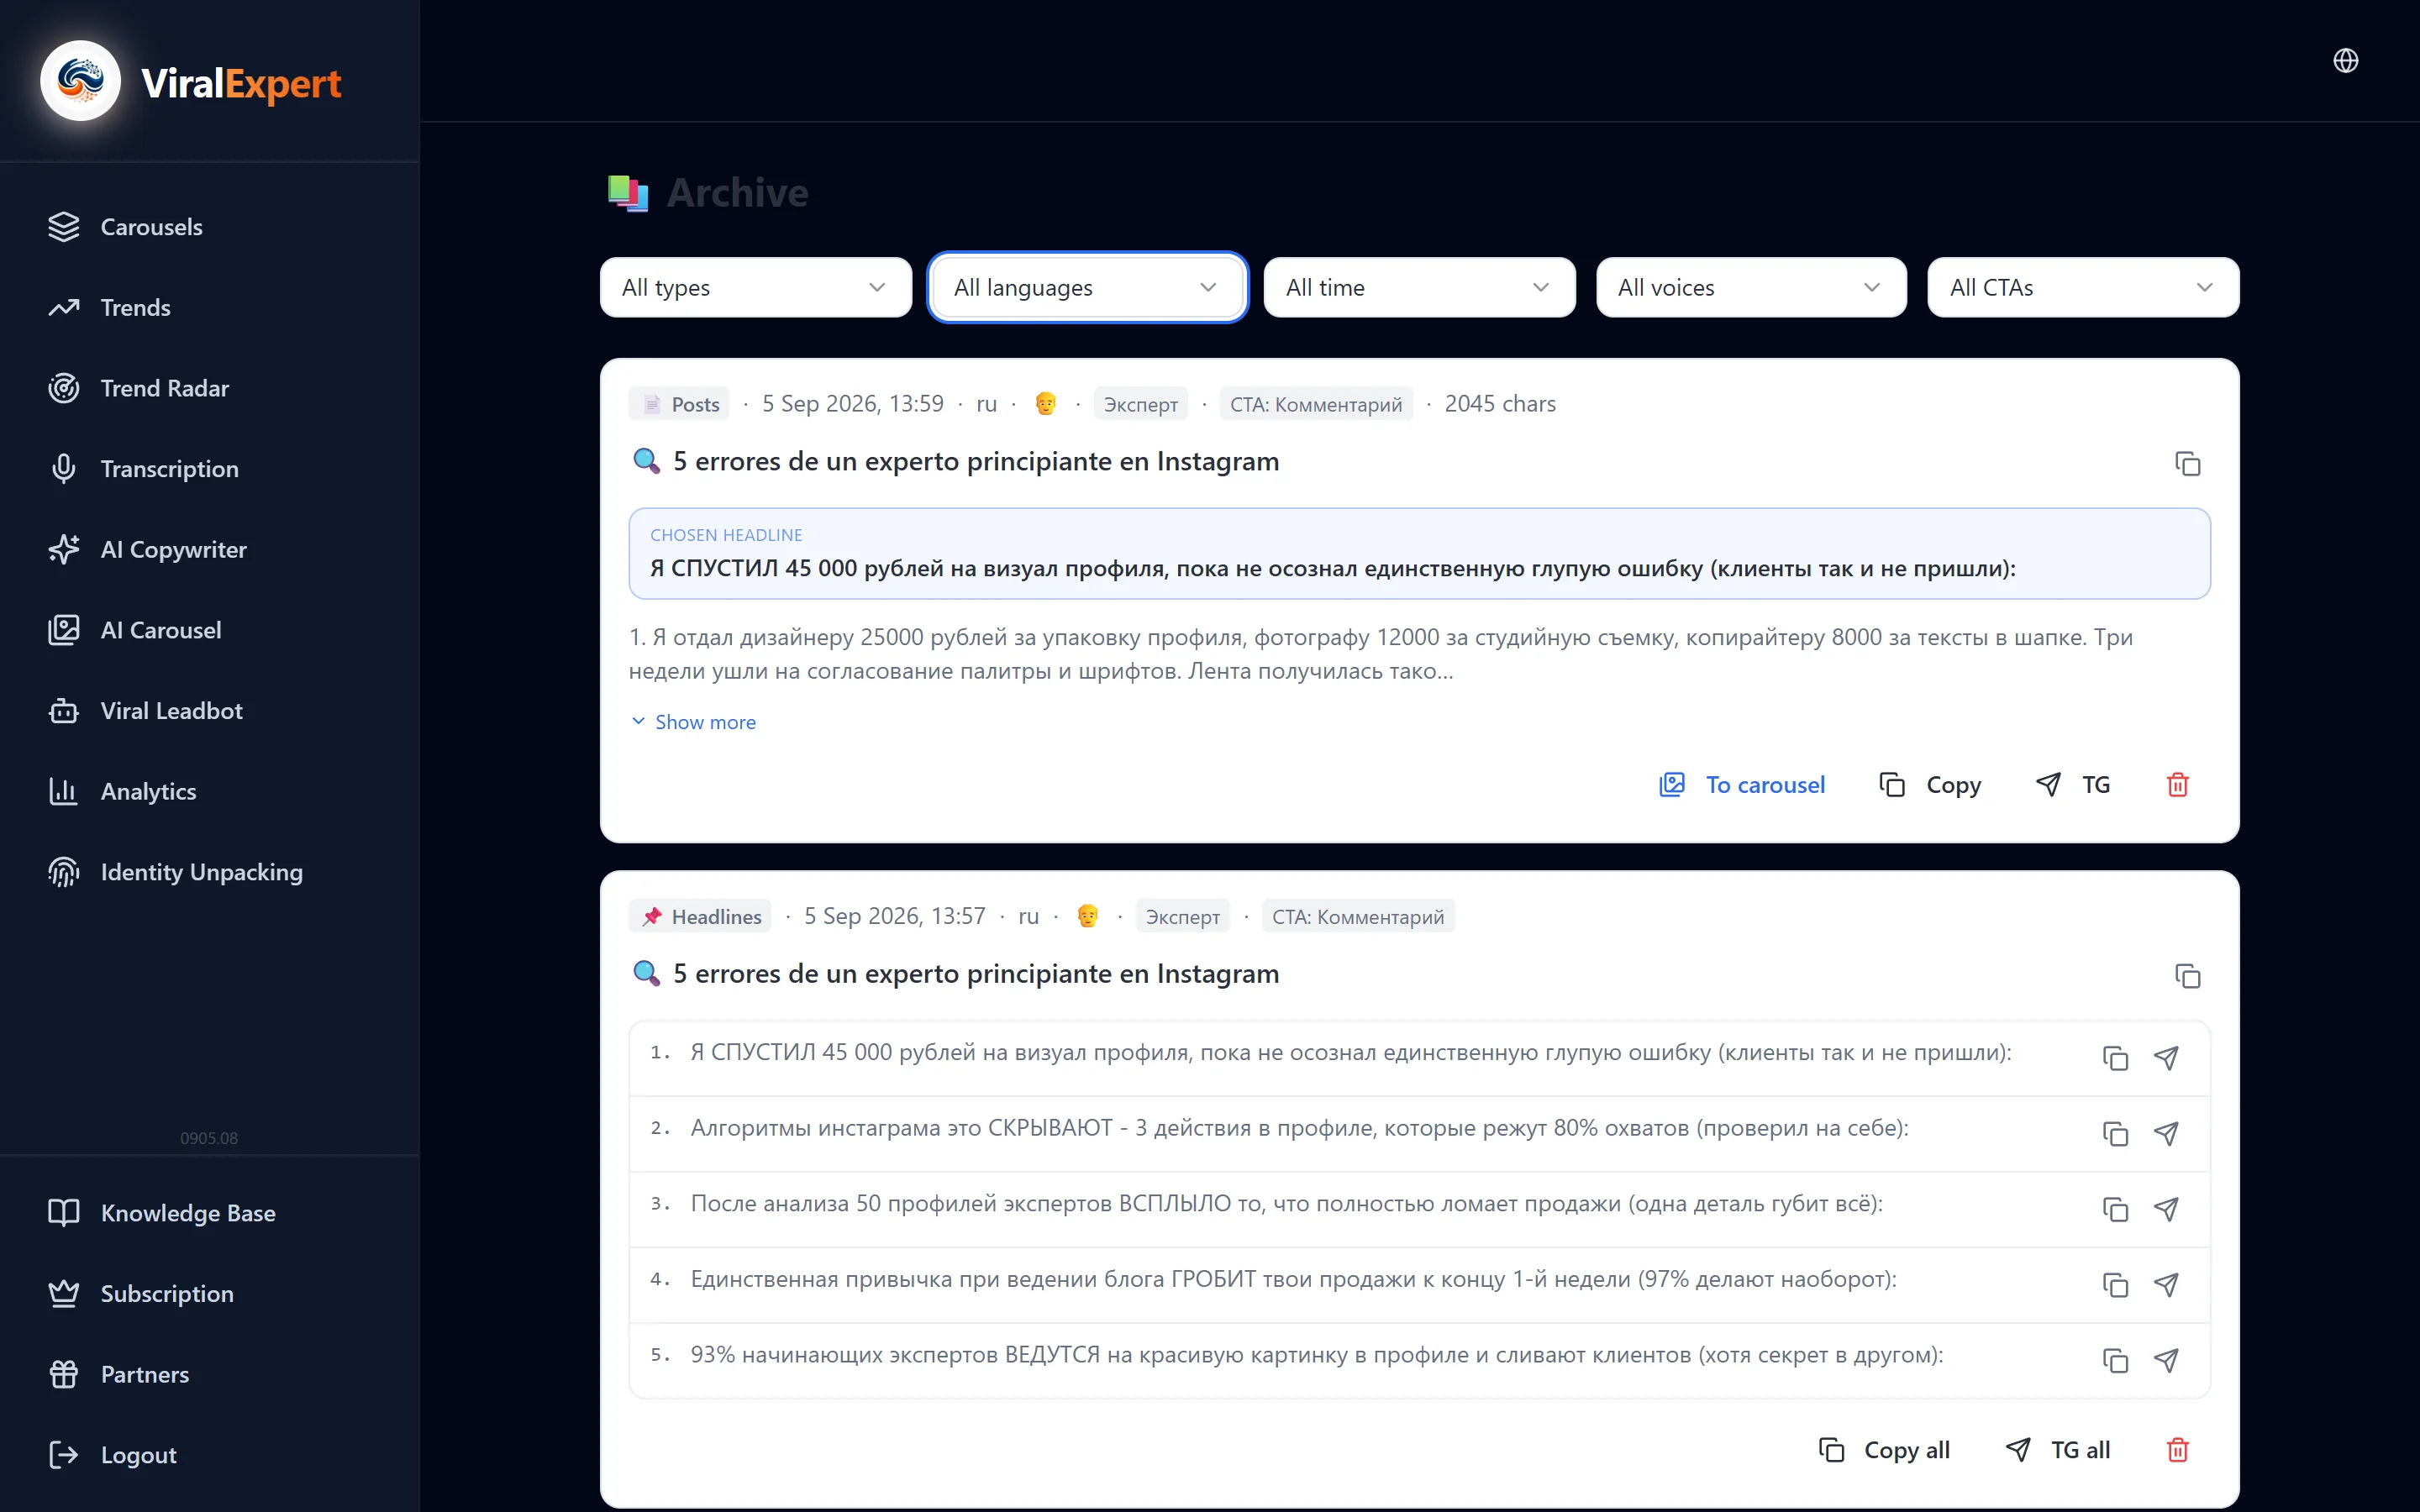
- A pair shows the chosen headline and the start of the post with the character count
- “Show all” expands the text, “Collapse” hides it
- “Copy all” copies the headline and post together; “TG all” sends them to the chat with the Telegram bot
Send the text to a carousel
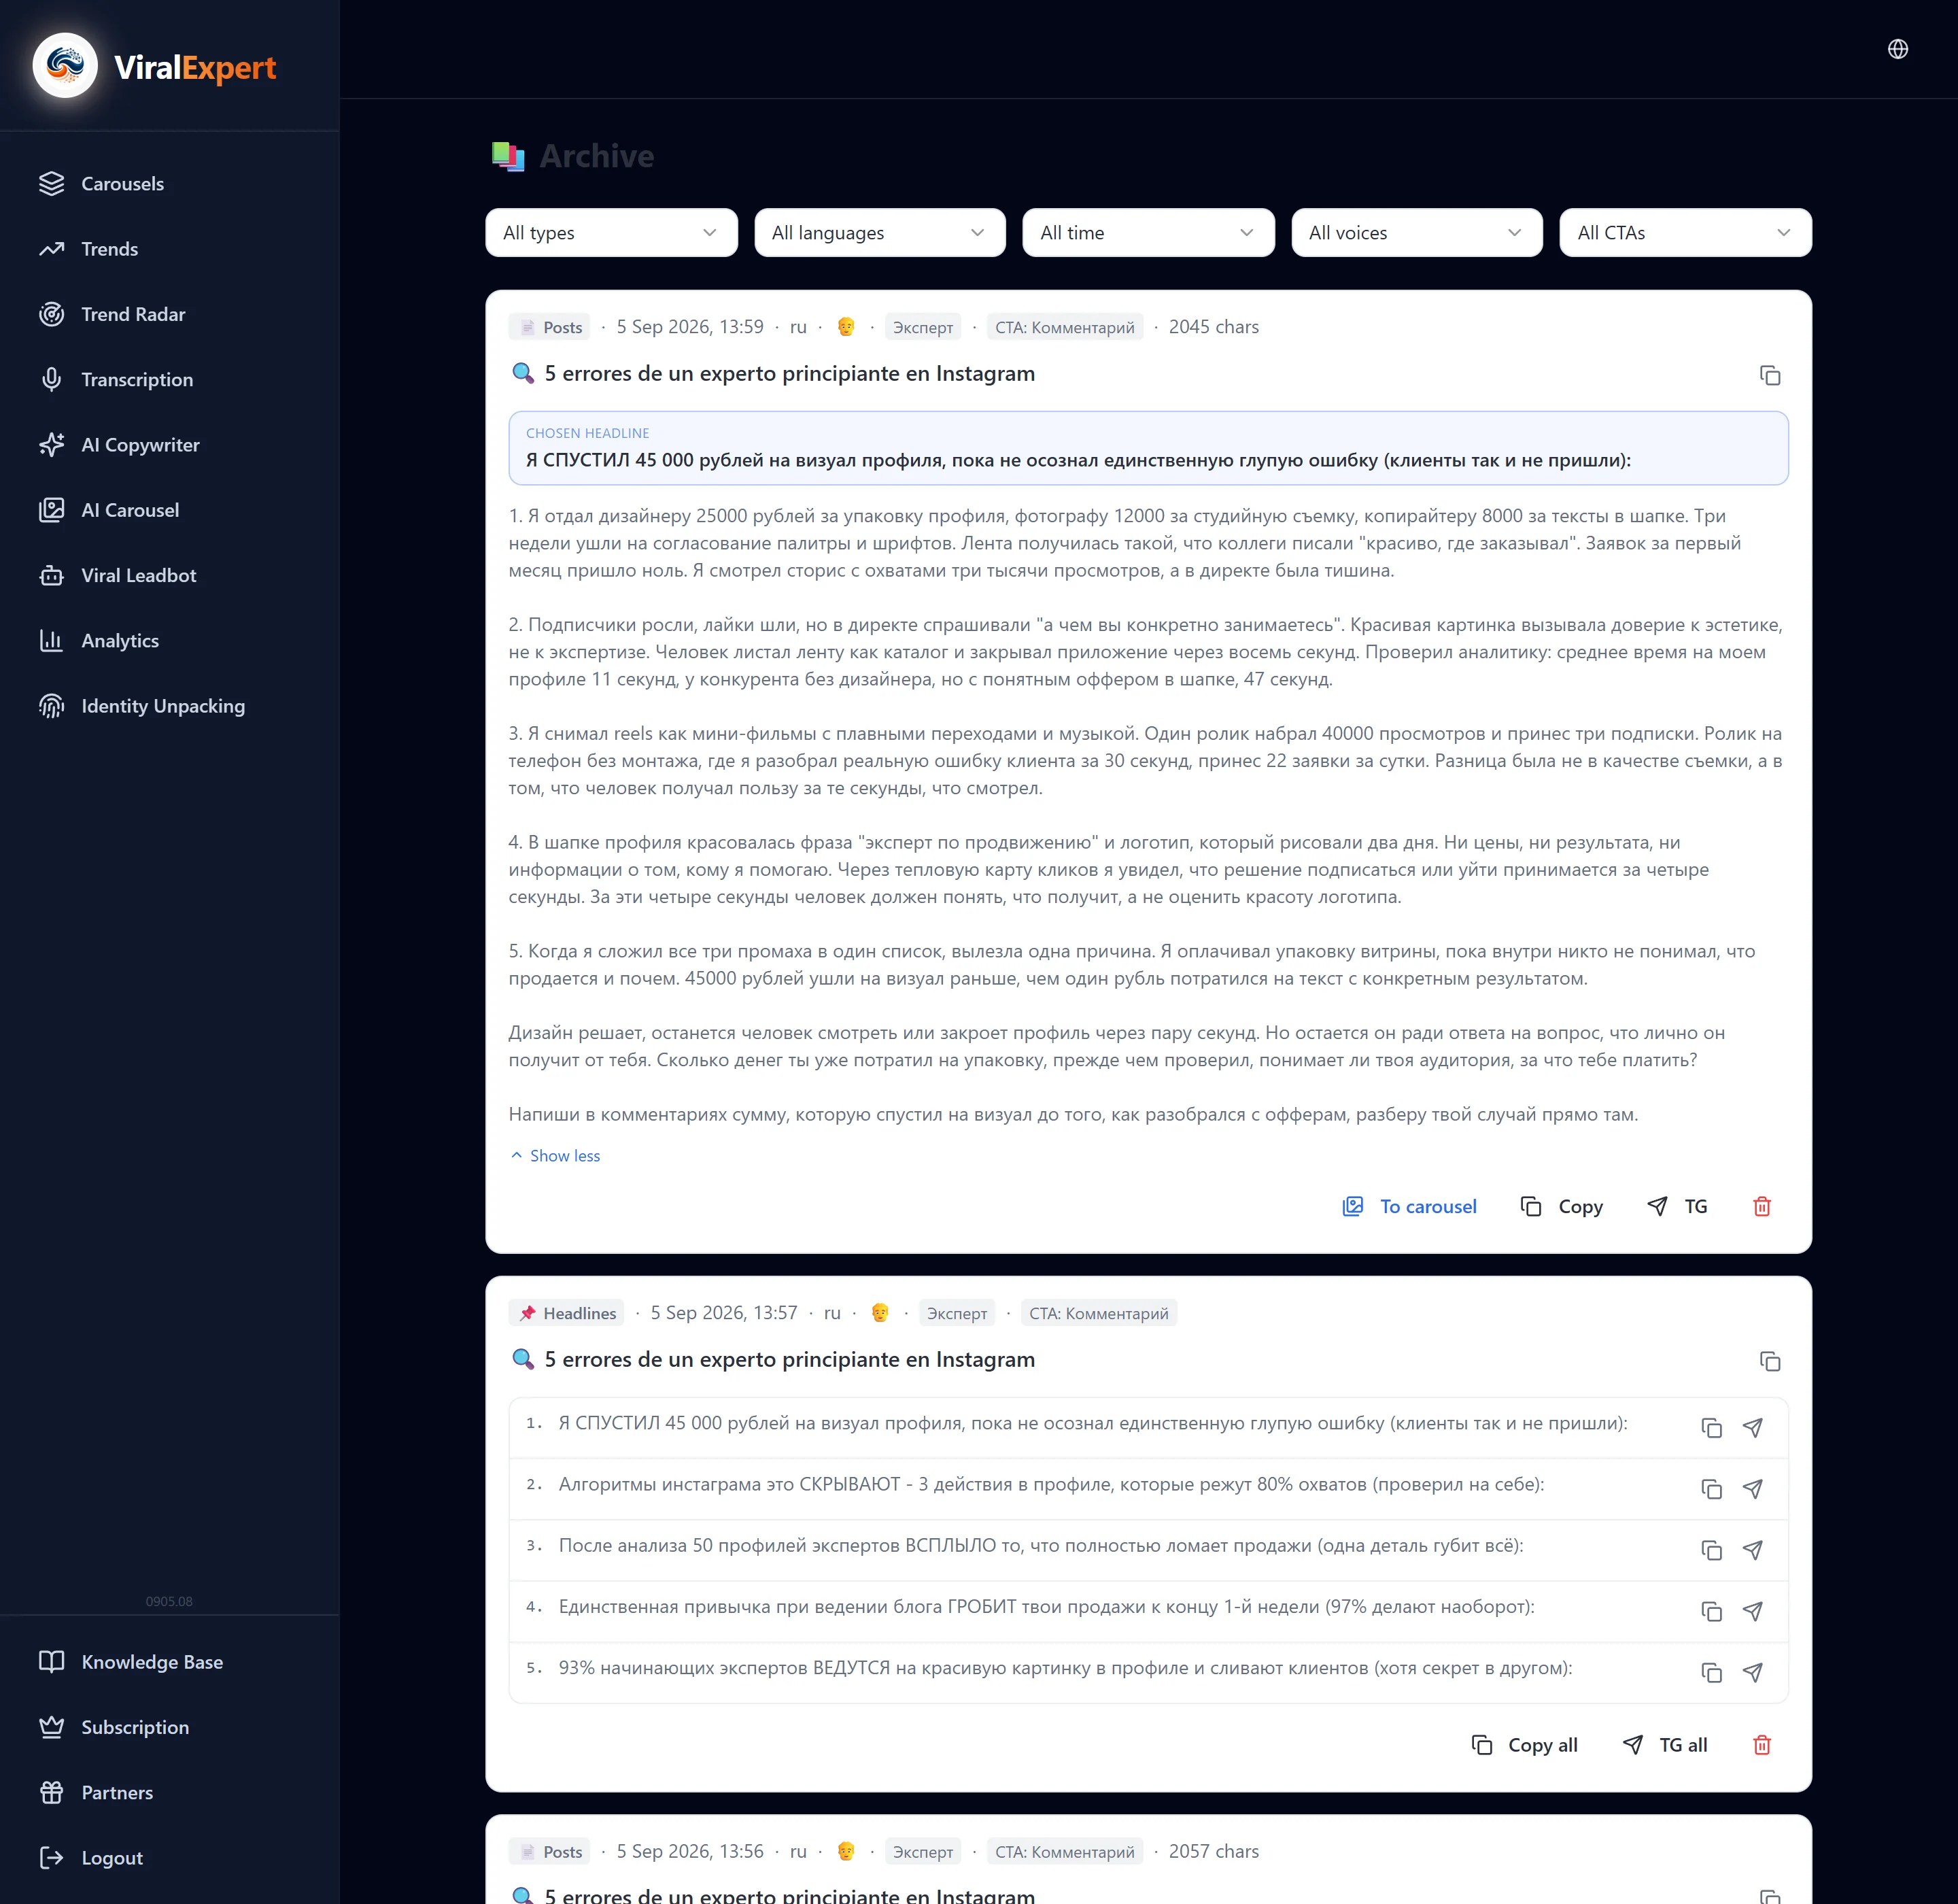
- Click “To a carousel” and choose where: “AI carousel” — the AI draws the slides; “Standard” — the slide editor
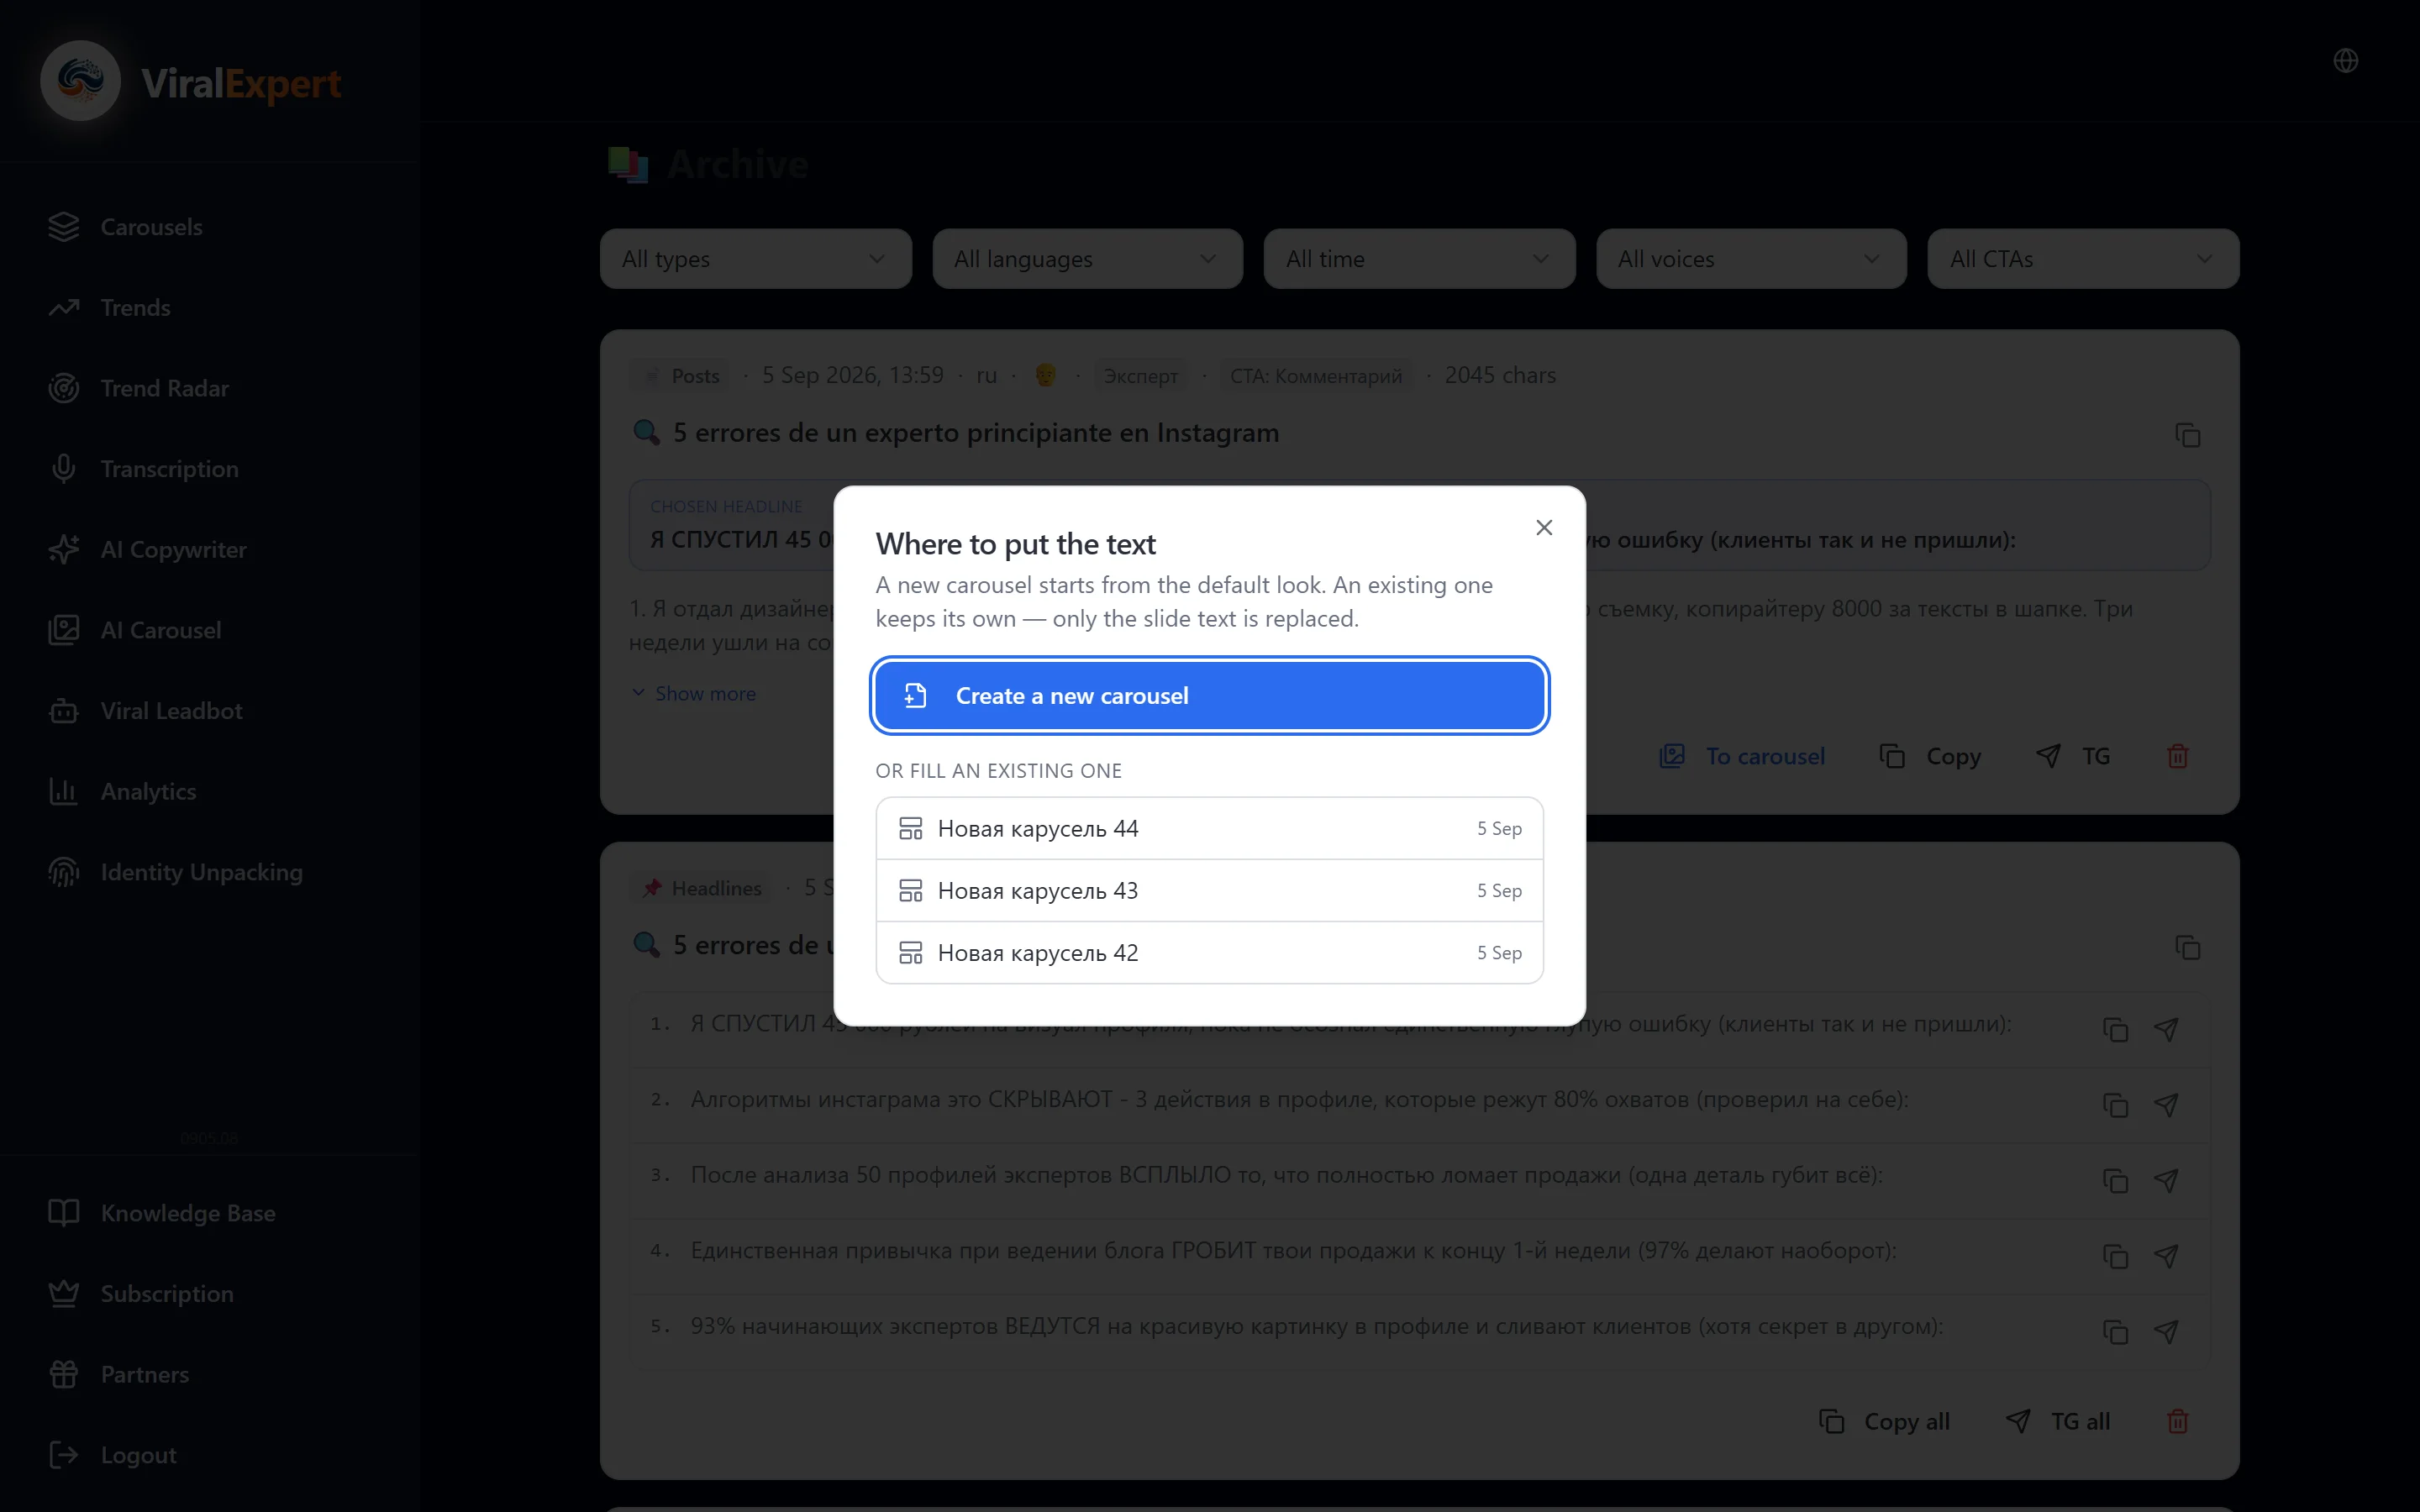
- For the regular one the “Where to put the text” window opens: “Create a new carousel” — with the default design, or put it into an existing one — its design is kept, only the slide text is replaced
- In AI Carousel the headline becomes the first slide and the text is spread across the rest
Deleting and other archives
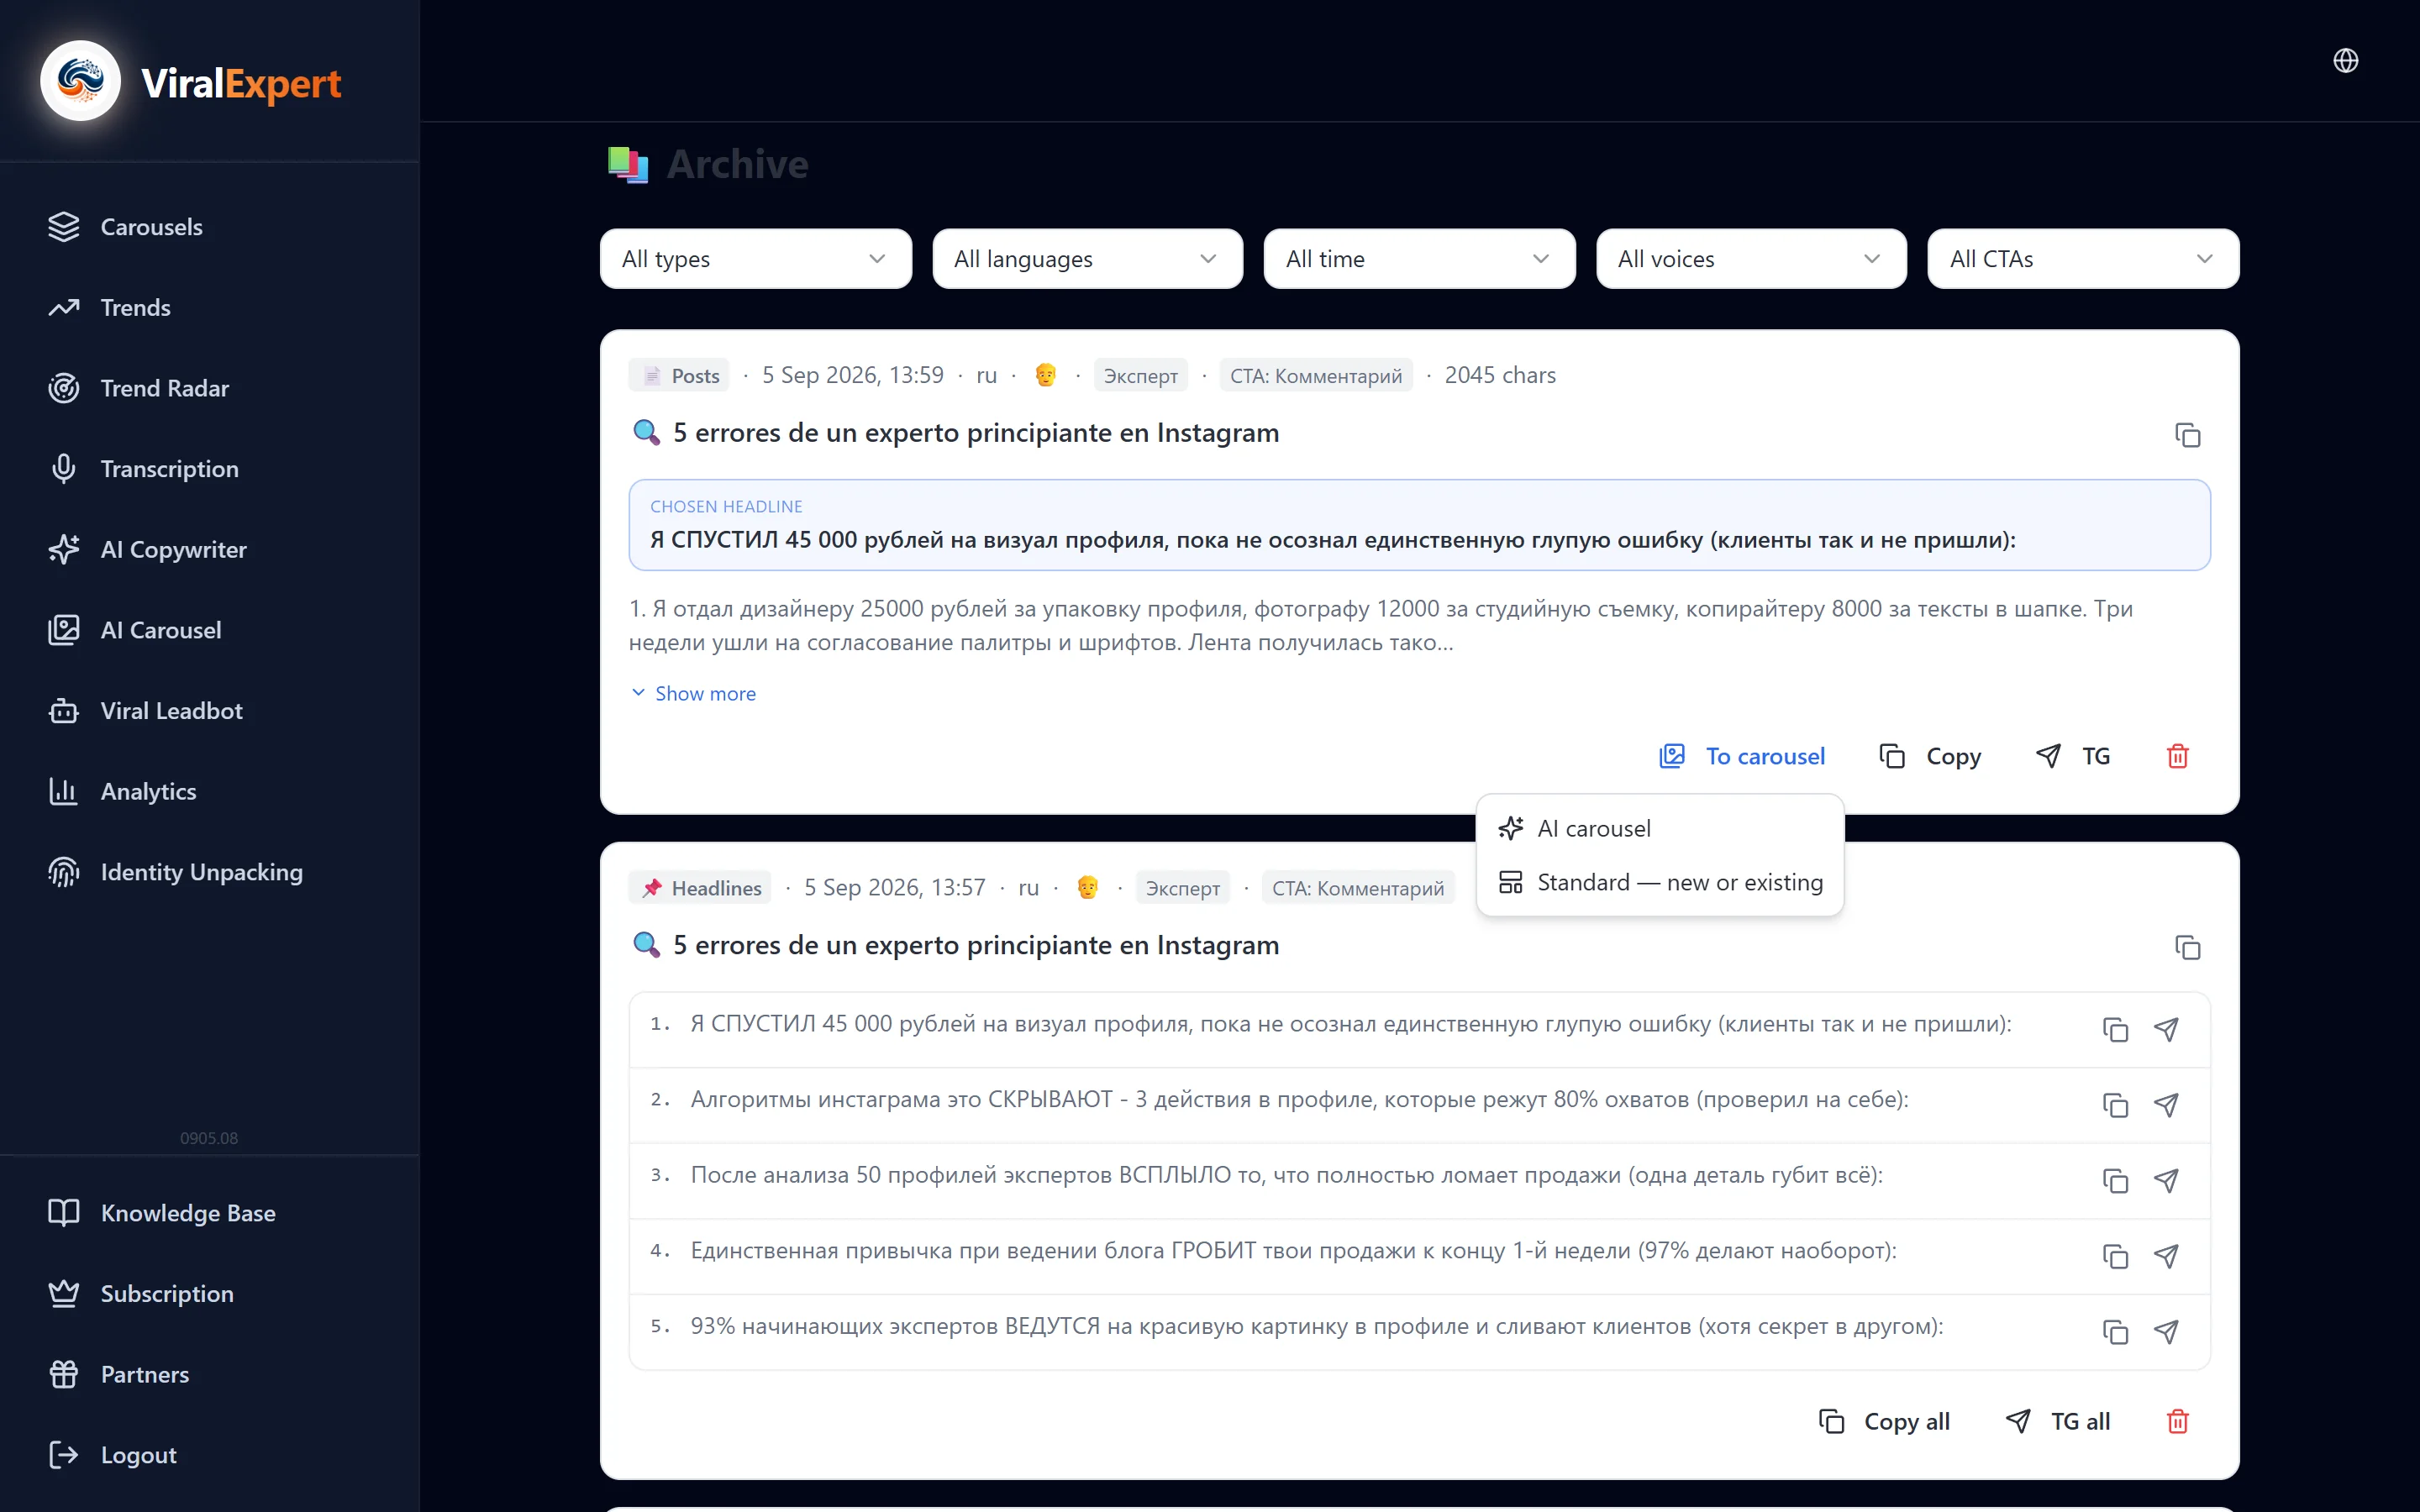
- The trash icon deletes an entry; the action can't be undone
- Other tools have their own archives: transcription history in “Transcription”, the carousel archive in AI Carousel, the scan archive in Trend Radar, the unpacking archive in Personality unpacking
FAQ
Ready to try?
Every tool is free to start. No card required.